


Recently we've noticed more customers are load balancing Microsoft SQL Server. We already have a built in MySQL health check in the appliance, but until now we've avoided having a Microsoft SQL check as it is not open source.
Not to be deterred, we checked the licence agreement with a microscope and we've deduced that although we can't ship the driver with our product...If you download the driver it is perfectly legal for you to use it on production systems.
So to make life easy for you, we’ve developed an installation script to walk you through the process as painlessly as possible. Follow the instructions bellow to install and configure the external health check, and once you've completed the steps you can use the health check for either layer 4 (LVS) or layer 7 (HAproxy) clusters.
This functionality will be integrated this into our appliance in v8.2.3, due for general release very soon.
This script offers the ability to check the health of your Microsoft SQL database. It uses the Microsoft ODBC driver for Linux
INSTALLATION STEPS
Once you have opened an SSH session to your appliance, follow these simple steps:
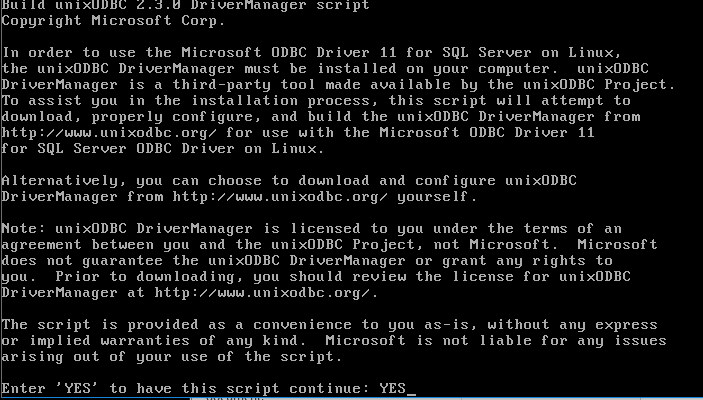
- Type “lb_mssql –i”
- Type “YES” to continue the script installation - see screenshot 1 below:
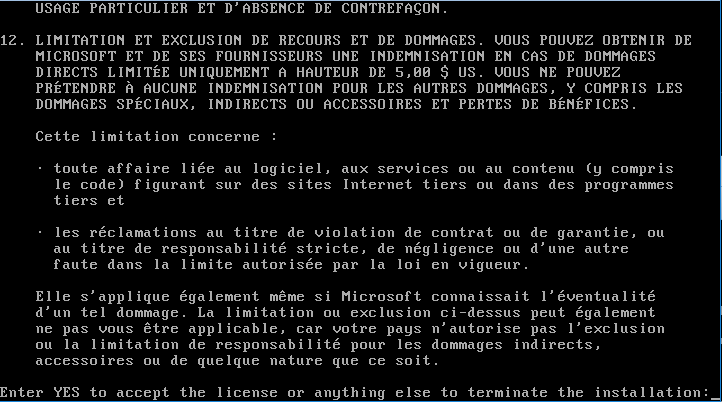
- Press spacebar to scroll through the Software Licence terms
- Press “spacebar” to scroll down through the License terms, then type “YES” to accept the licence or anything else to terminate the installation - see screenshot 2
- You will now be presented with two options - see screenshot 3
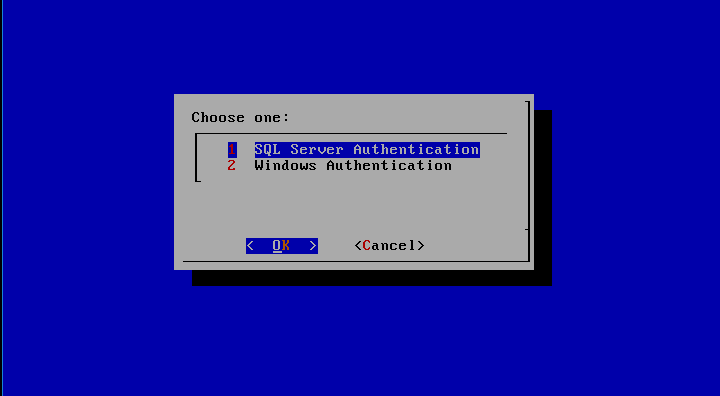
- In my example, I have chosen option “2-Windows Authentication”
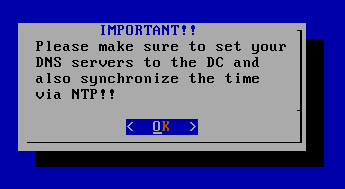
- You will now see an important notice regarding DNS servers to the DC and to Sync time via NTP - see screenshot 4
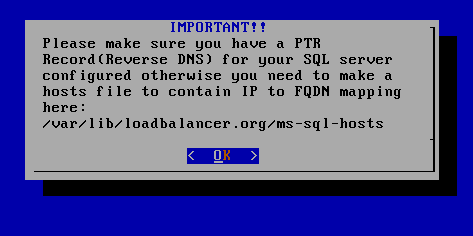
- Next you will see another important notice saying about your PTR record (Reverse DNS) for your SQL Server - screenshot 5
- In the next screen, you will be prompted to enter your domain controllers FQDN: - screenshot 6

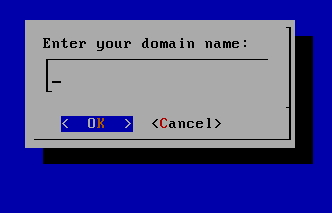
- Then enter your domain name - screenshot 7
- Next you will need to enter your Windows Username, it should be entered as User@REALM: - screenshot 8

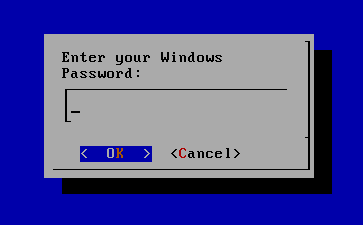
- Enter your Windows Password, this will appear as clear text - Screenshot 9
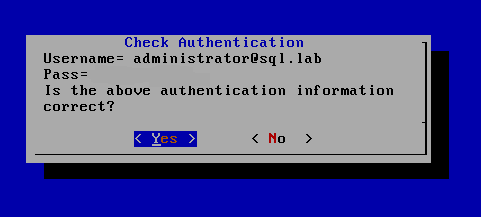
- Now please check you have entered your windows authentication correctly - screenshot 10
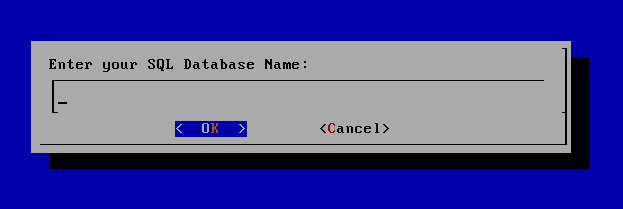
- Next you will enter your SQL Database Name - see screenshot 11
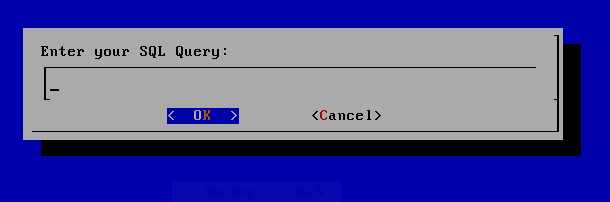
- Now enter your SQL Query as “SELECT FROM without the quotes - see screenshot 12
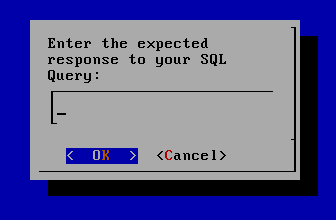
- Enter your expected response from your SQL query - see screenshot 13
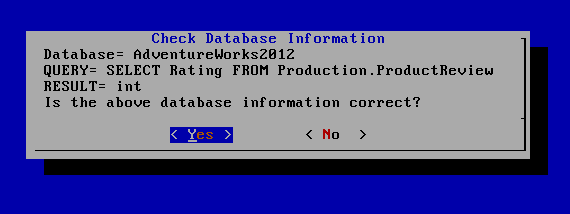
- Then check the information you have entered - see screenshot 14
SQL QUERY Example:
SELECT
Chooses the fields that you want to be displayed in your chart. This is the specific piece of information that you want to pull from your database. In the example above, we want to find the people who fit the rest of the criteria.
In our SQL query example from the screenshot above: Rating
FROM
FROM pinpoints the table that you want to pull the data from, we'll pull data from the specific table below. In our SQL query example from the screenshot
In our SQL query example from the screenshot above: Production. productReview
Once you have entered this information, please then navigate back to the SSH session.
type “lb_mssql 0 0 "Insert your SQL Server IP address" 0 ; echo $?” This should then return a value of 0 if it found your query. Any other value would be a failure.
Useful Notes:
- Please make sure that you set your DNS Servers to the DC and to sync time via NTP otherwise, it will fail the exercise.
- Make sure you setup a PTR Record (Reverse DNS) for your SQL Server or you will need to make a hosts' file to include IP to FQDN mapping here - /var/lib/loadbalancer.org/ms-sql-hosts
- When using Windows Authentication method, you will need to enter your username as your username@FQDN
- When using SQL Authentication, please make sure that in your SQL Management Studio under the User Account\Status – please make sure the account is set to login “enabled”.
If you have further queries regarding load balancing SQL Servers then get in touch with us via [email protected].