The first step on a journey is often the hardest, but configuring our new web-based remote management, backup and automation solution for your Kemp load balancers is well worth the effort.
I was a little confused the first time I added a Kemp LoadMaster* to the ADC Portal. So I thought I'd try to cover everything in one place, with lots of screenshots to help you get started.
And if you're wondering why on earth I'm talking about Kemp, check out this blog: How to manage all your load balancers from one platform.
Why would I want to add a Kemp to the ADC Portal?
If you are looking after a number of load balancers and the applications that run on them, things can get complicated. Simply organizing, accessing, maintaining, backing up, and keeping them secure can quickly become a headache.
The ADC Portal is a simple and yet powerful tool to help you and your team automate these everyday tasks.
How to add a Kemp ADC
You can jump ahead if you have already completed some of these 5 simple steps:
- Set up your free ADC Portal account
- Install a Shuttle on your local network
- Adopt the Shuttle in your Portal
- Enable the API on your Kemp LoadMaster
- Add the Kemp LoadMaster to your ADC Portal
Set up your free Portal account
As you would expect, it's pretty quick and easy, to set up your free Portal account. Just head to the main site:
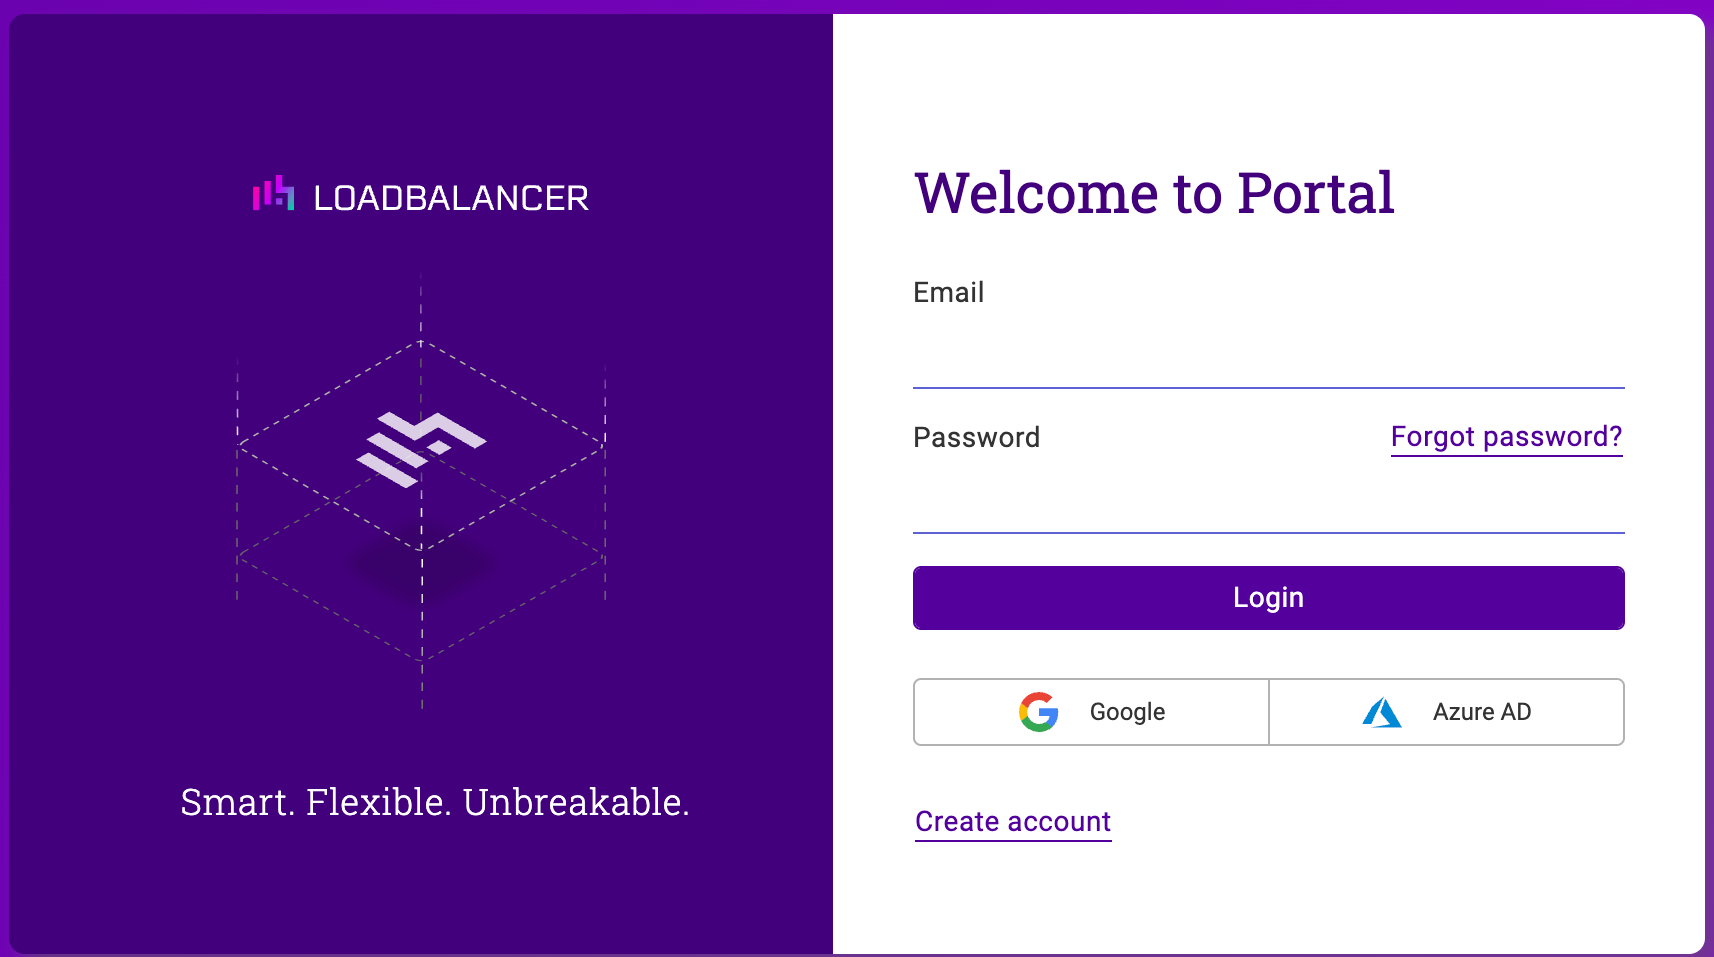
You can either use your Google/Azure single sign-on, or click the 'Create account' link.
Then enter your email address:
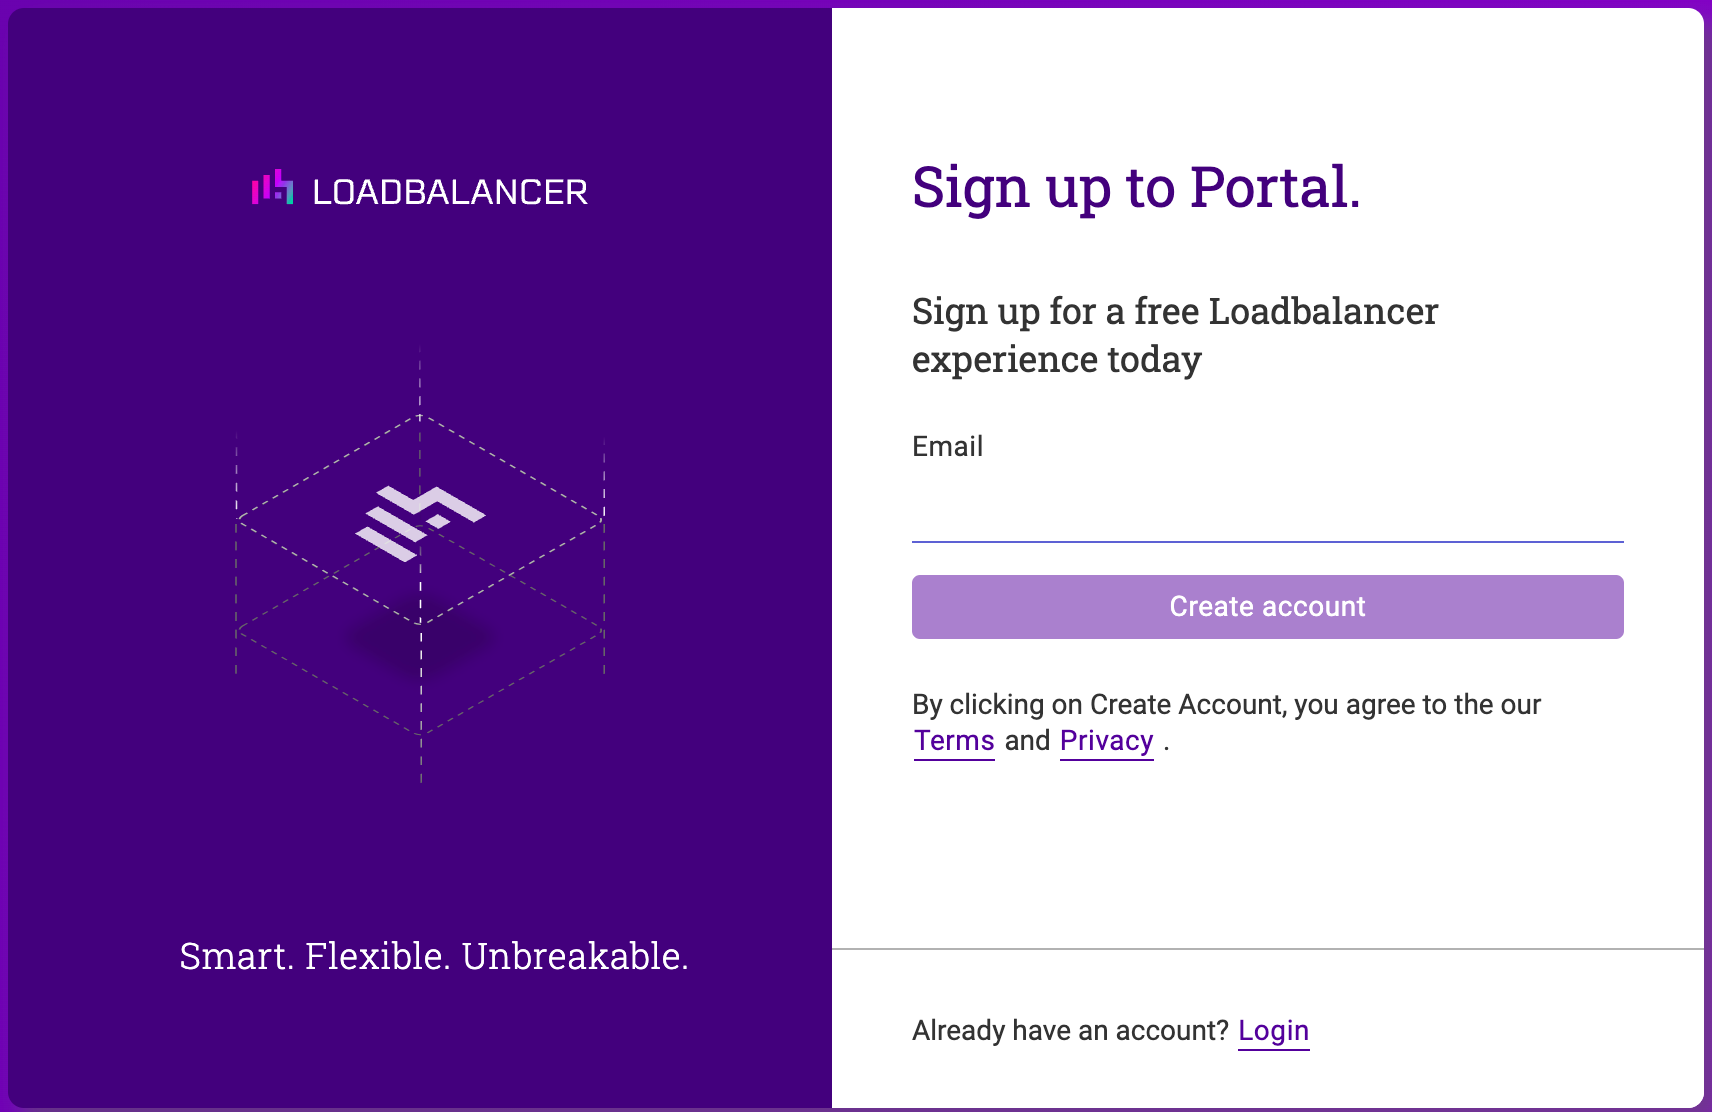
You'll then be sent a verification email:
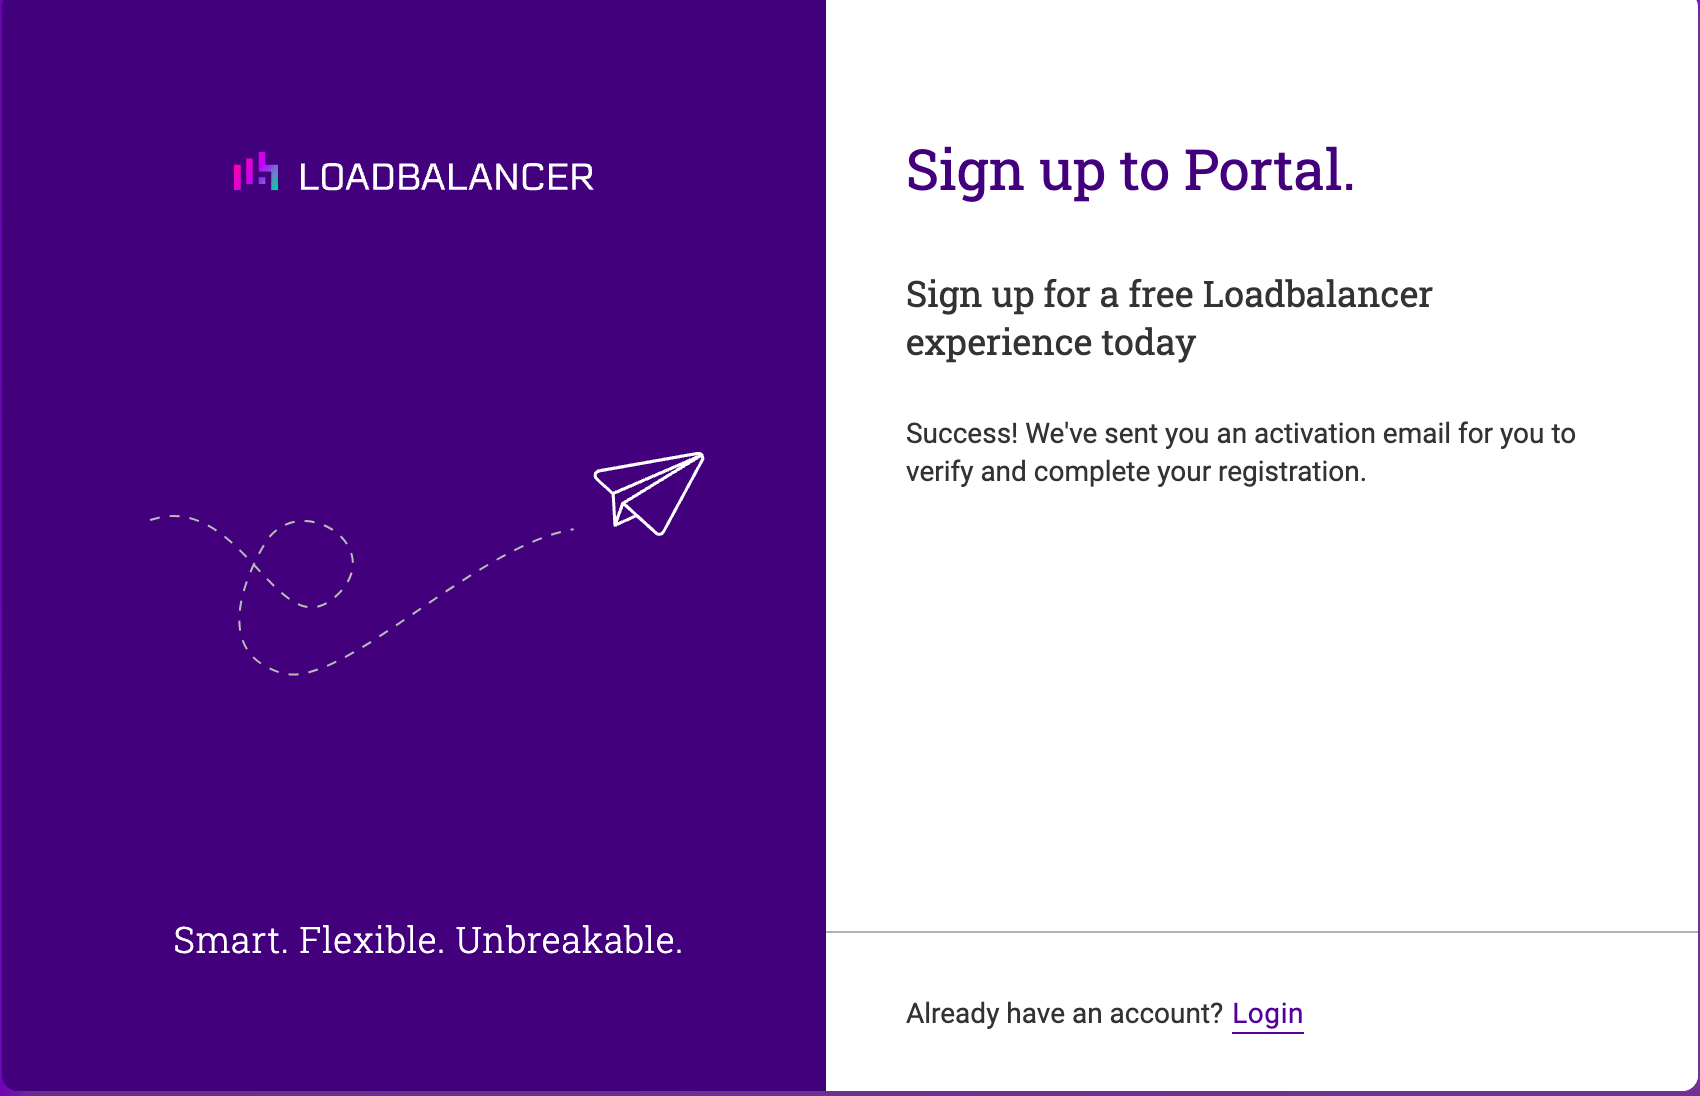
When you get the verification email, simply click on the activation link to start the account activation process:
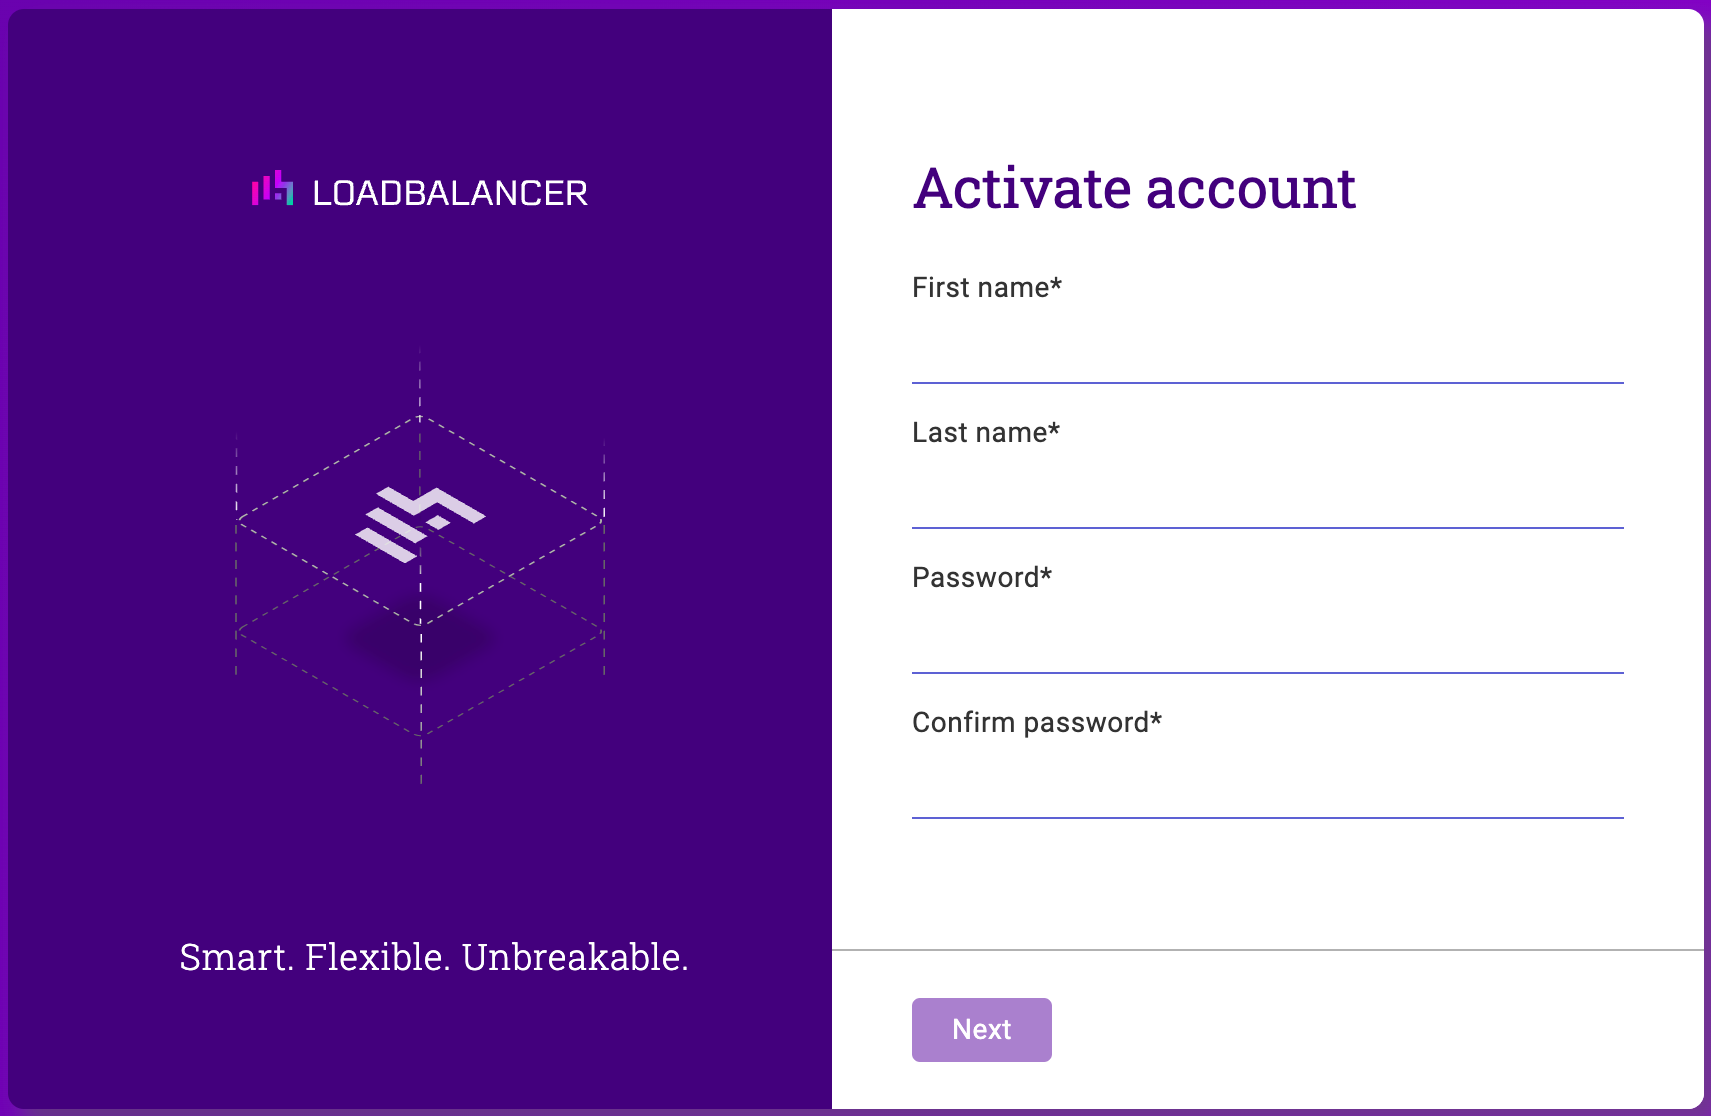
Enter your details as requested and choose a secure password:
"I CANNOT STRESS ENOUGH -
DO NOT FORGET YOUR PASSWORD!!"
Why? Because the portal is a completely zero trust system. And I mean zero trust!
If you lose your password and keys then no one can get into the account.
You will loose all of your configuration and backups. Full stop.
We can't recover it for you without your keys or password. Which is kind of reassuring when you think about it, isn't it?
Then supply your organization details:
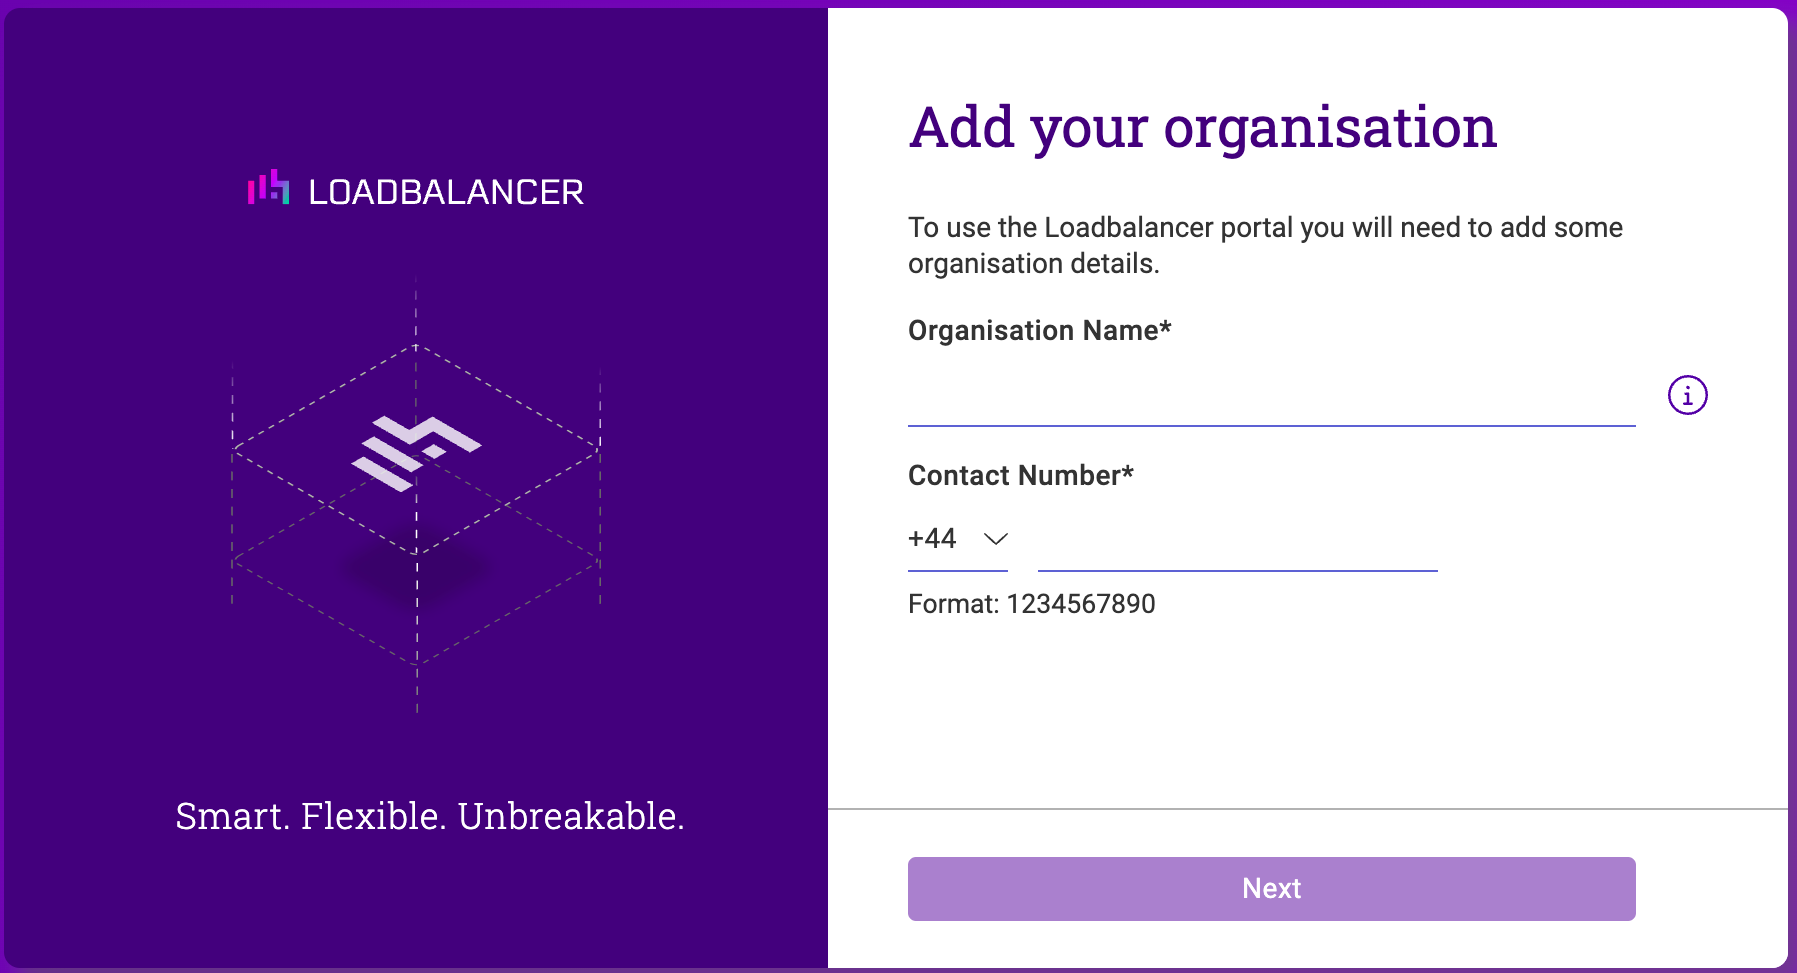
NB. You can have as many users as you like in an organization for free.
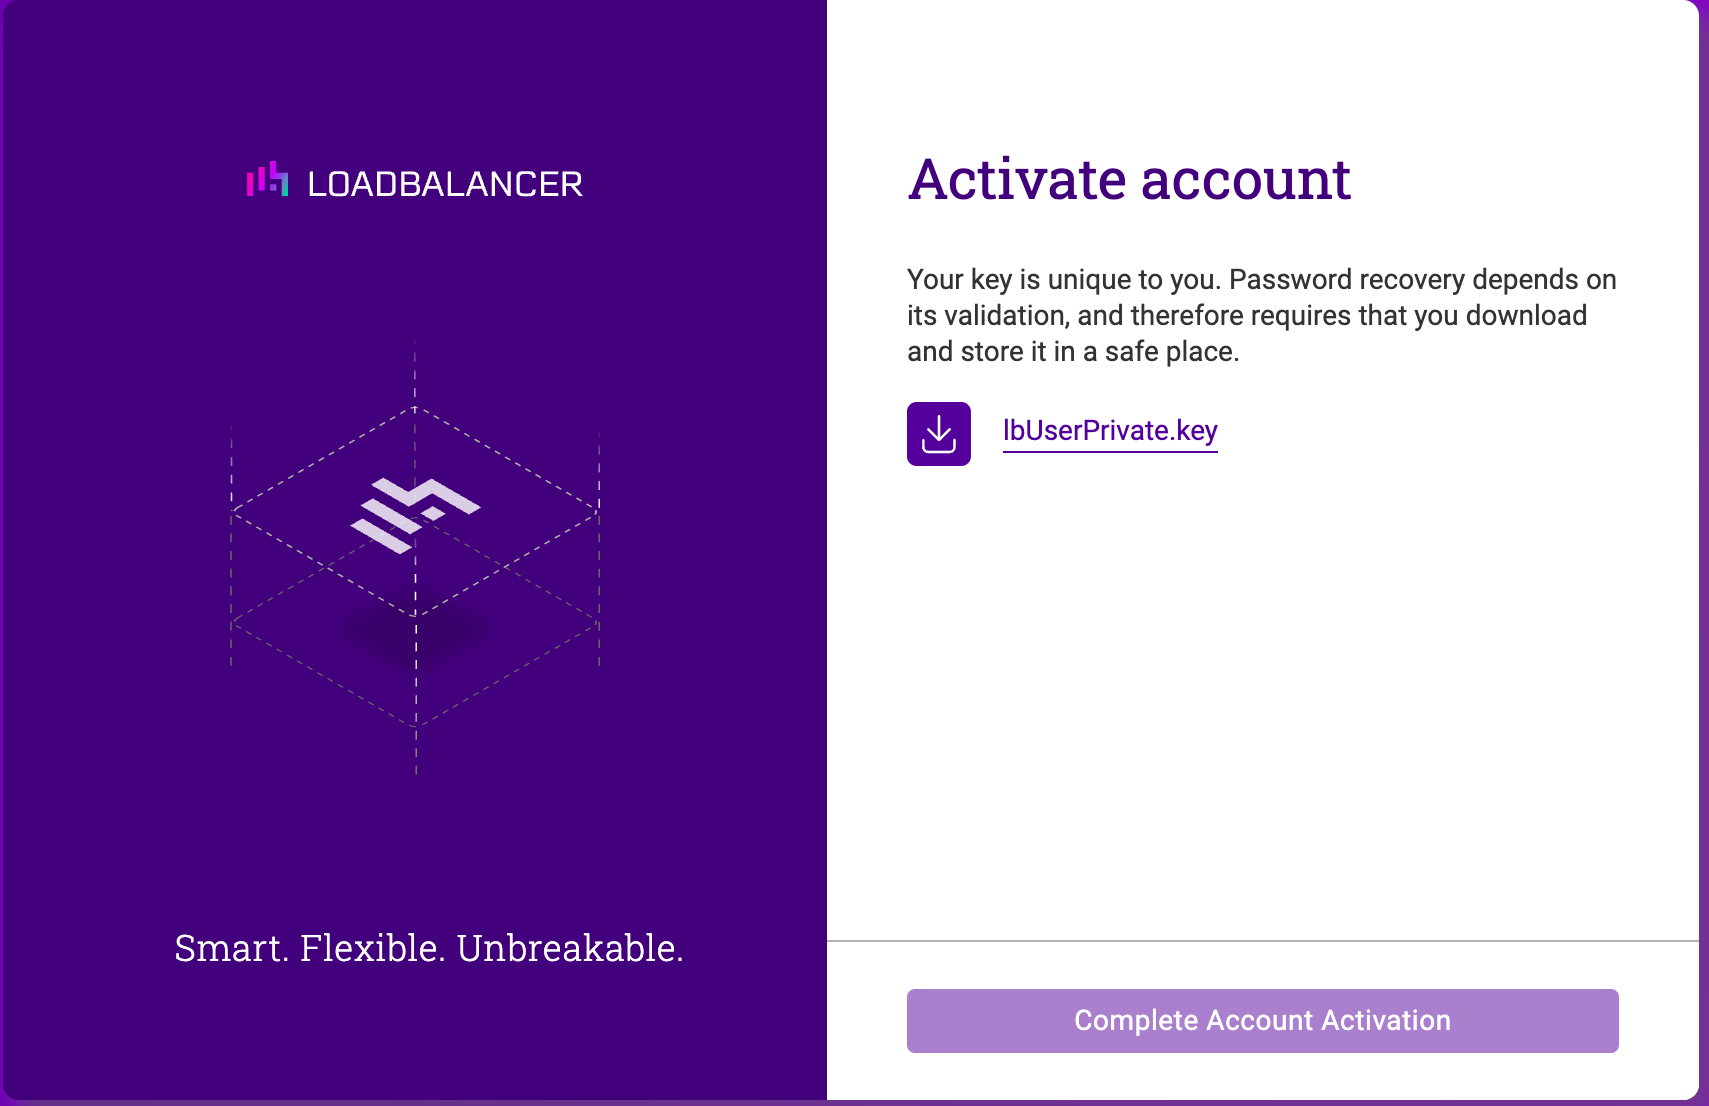
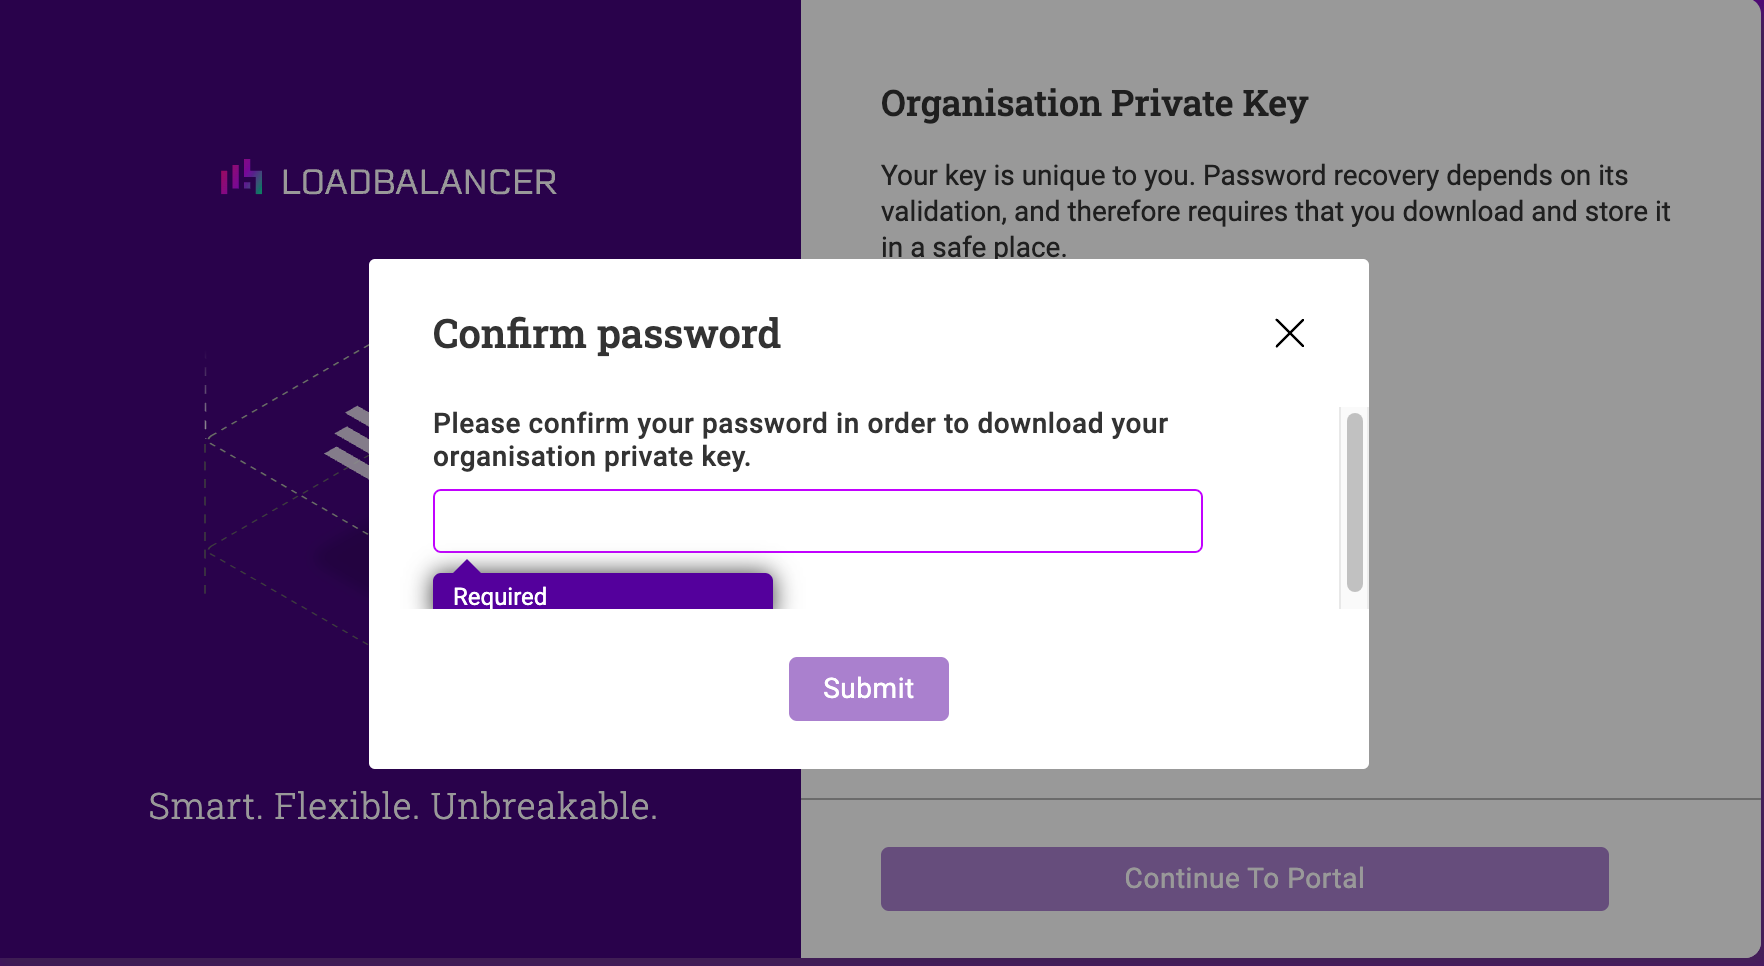
And finally, download your organization key, and store it in a very secure place!
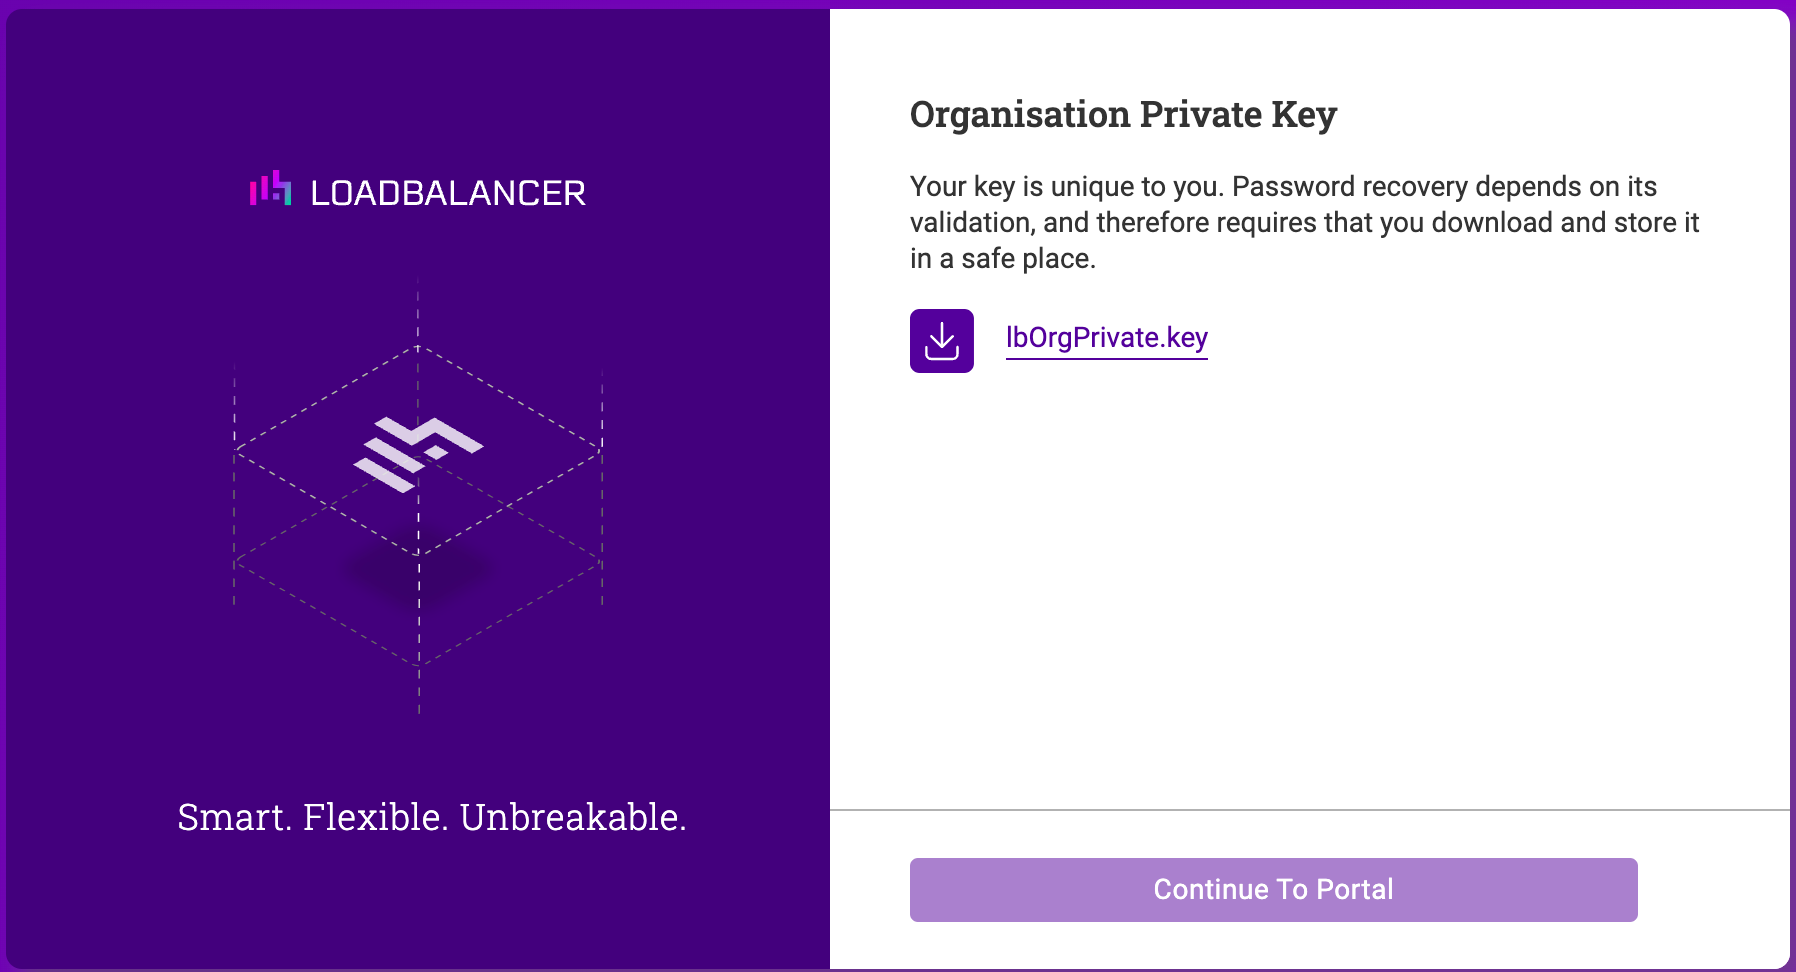
Hey, I did stress the importance of knowing your password didn't I?!
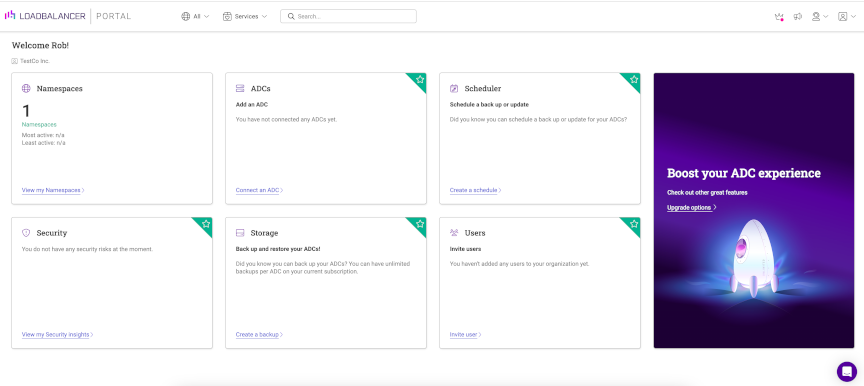
And with any luck, you'll now be logged straight into your personal ADC Portal Dashboard:
Install the Loadbalancer Shuttle
A 'Shuttle' is the terminology that the Loadbalancer Portal uses for its secure sidecar proxy. You can think of it as an ultra secure API gateway; it has a very limited set of functions.
But why use it? Basically, because it's designed to allow your Kemp LoadMaster on your private network to communicate securely with the ADC Portal.
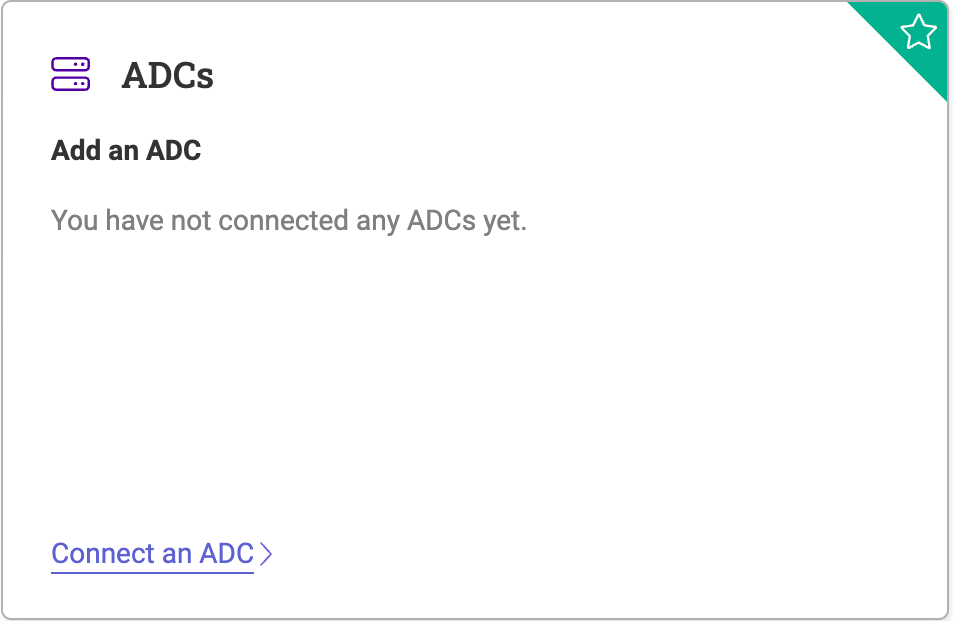
Click on the 'Connect an ADC >' link.
Then select 'Shuttle Management' from the menu on the left:

And click on the purple 'Add Shuttle' button:
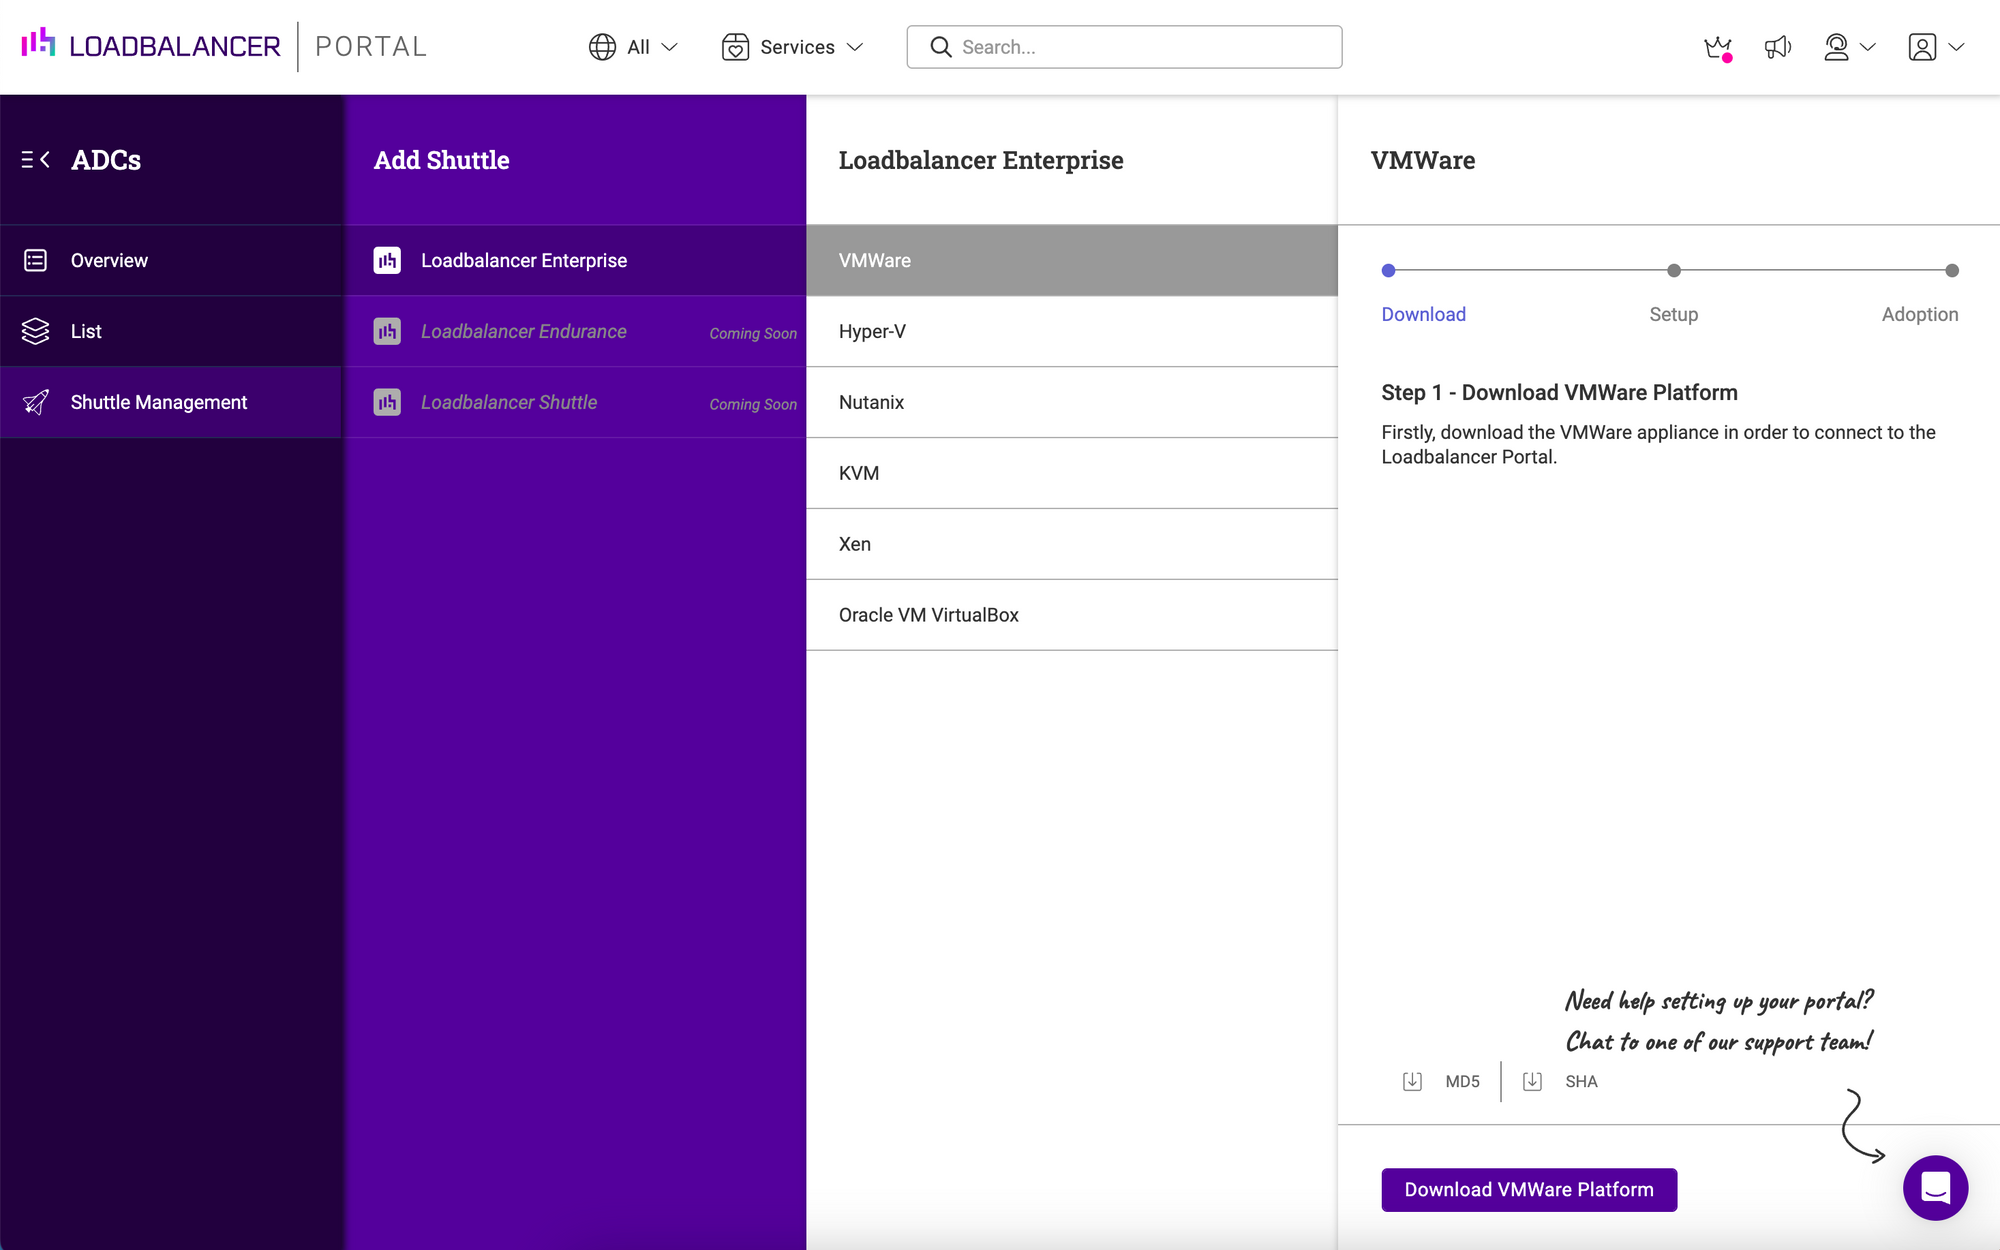
Hang on, why on earth do I need to install a Loadbalancer Enterprise ADC appliance?
At the time I write this the Shuttle was only available as a built-in piece of software on the Loadbalancer Enterprise ADC virtual appliance. This is free to download and use permanently as a Shuttle for Kemp ADCs.
Update: You'll be glad to know that our development roadmap moves quickly, so yes we already have a fast and light weight shuttle for Linux...
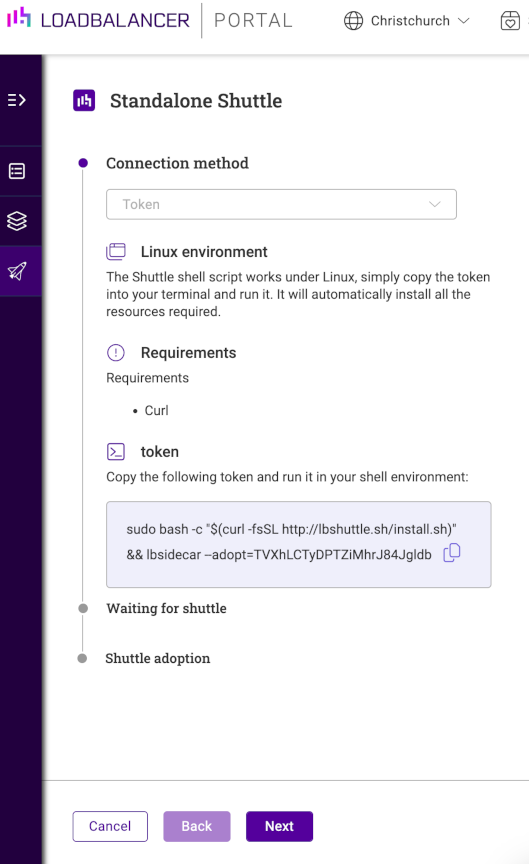
Check this guide for further information on all of the methods of configuring the ADC Portal.
But, Lets's back to the Loadbalancer appliance method...
So, choose your preferred hypervisor and download the Shuttle, extract the zip file and open it in your hypervisor environment. Here I'm just using VirtualBox on my desktop:

Login as described with the setup user, and step through the network configuration wizard:
IMPORTANT: You will need to configure the Shuttle on the same network segment as your Kemp LoadMaster. You will also need a default gateway with access to the Internet (to communicate with the Portal).
For the first two questions, just answer with the defaults:
Reset the IP configuration: Yes
Recovering from node failure: No
But when you get to centralized management choose: Yes
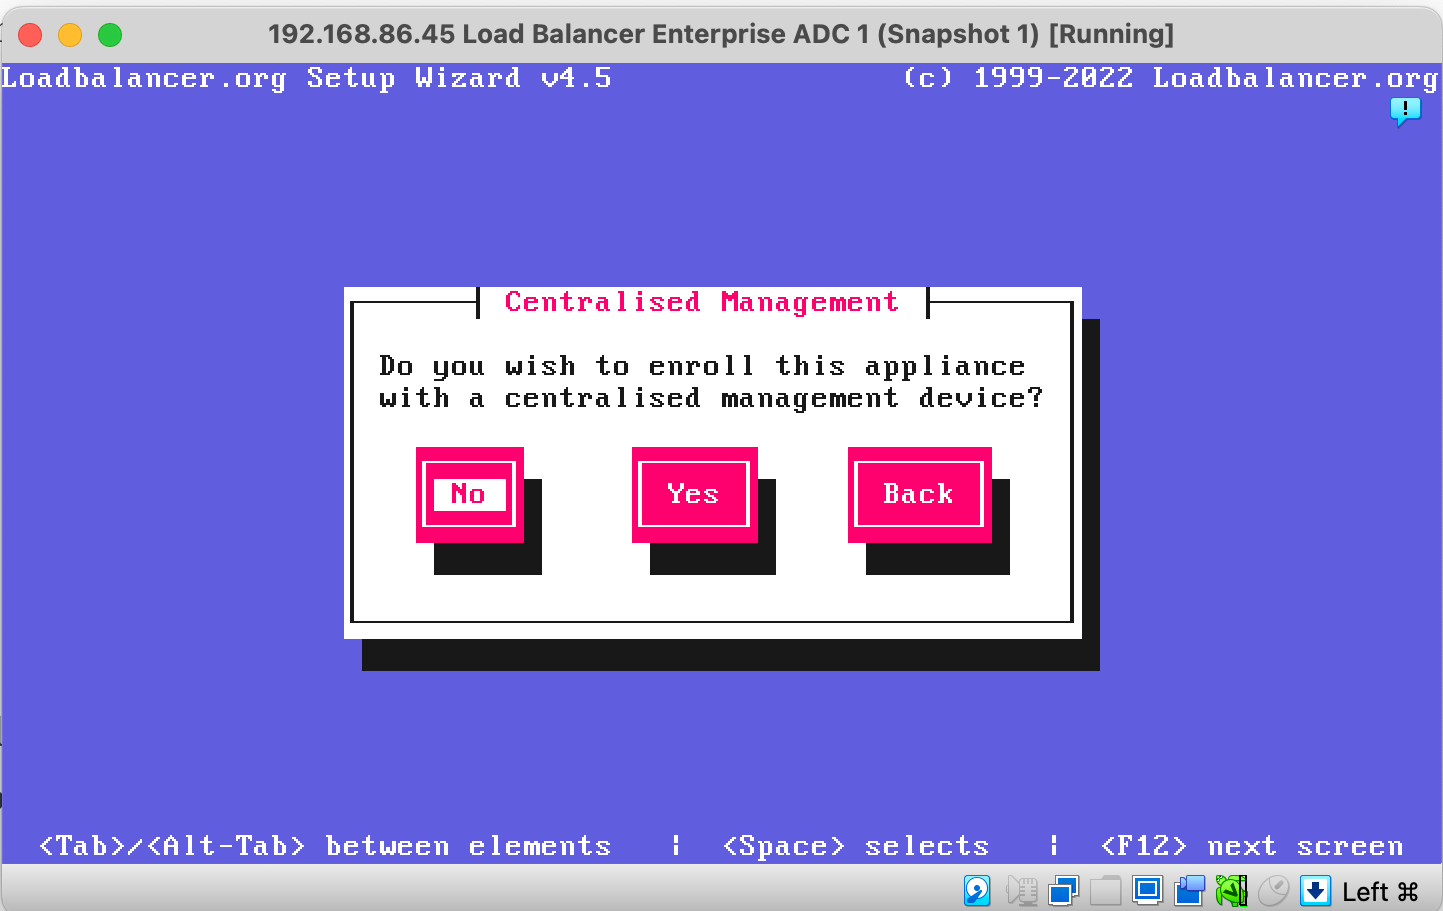
For the next four questions, just use the defaults:
Choose Interface: Eth0
Bonded Interface: No
VLAN: No
Management IP: Eth0
Then make sure you carefully specify a static IP address in the same subnet as your Kemp LoadMaster:
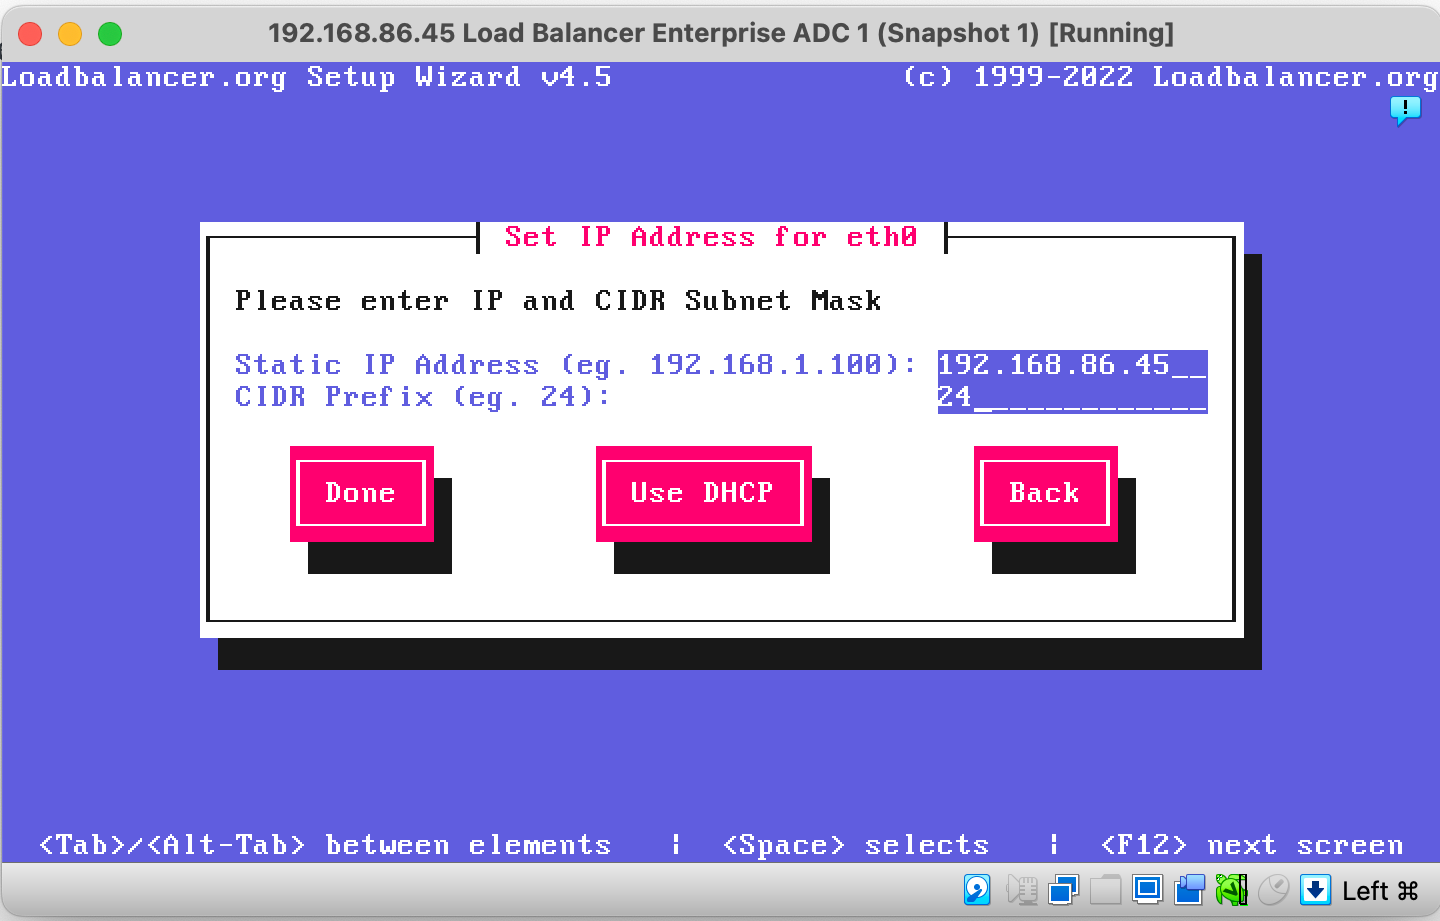
Specify your default gateway & DNS servers.
Then choose a secure password for your Shuttle:
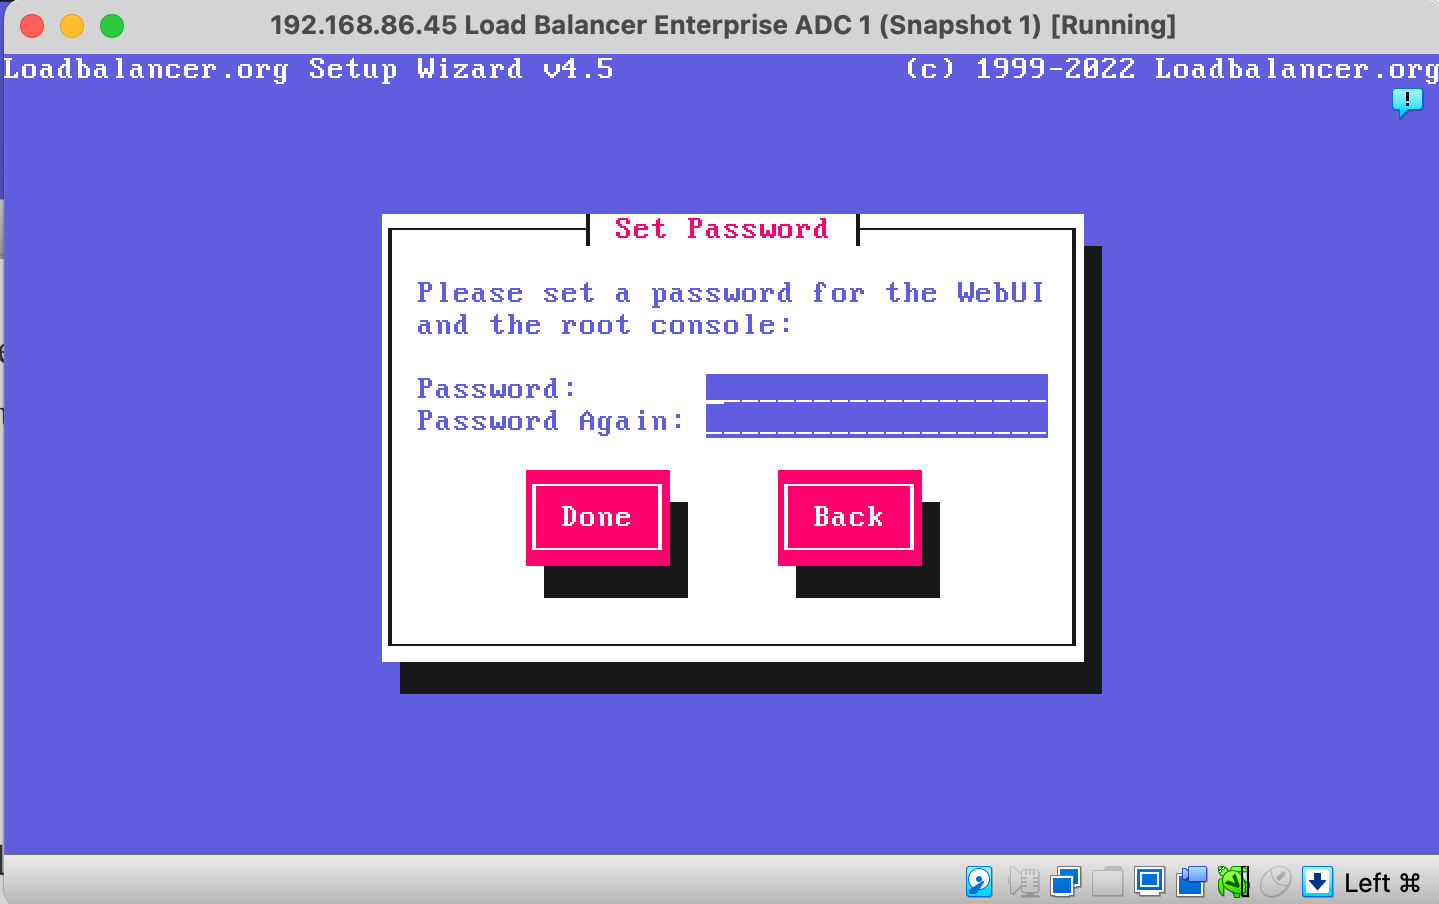
IMPORTANT: You will need this password later if you want to adopt the Loadbalancer ADC in the Portal.
Then finally you need to give the username and password for the Portal account that you have previously created.
Reminder: The username is your email address!
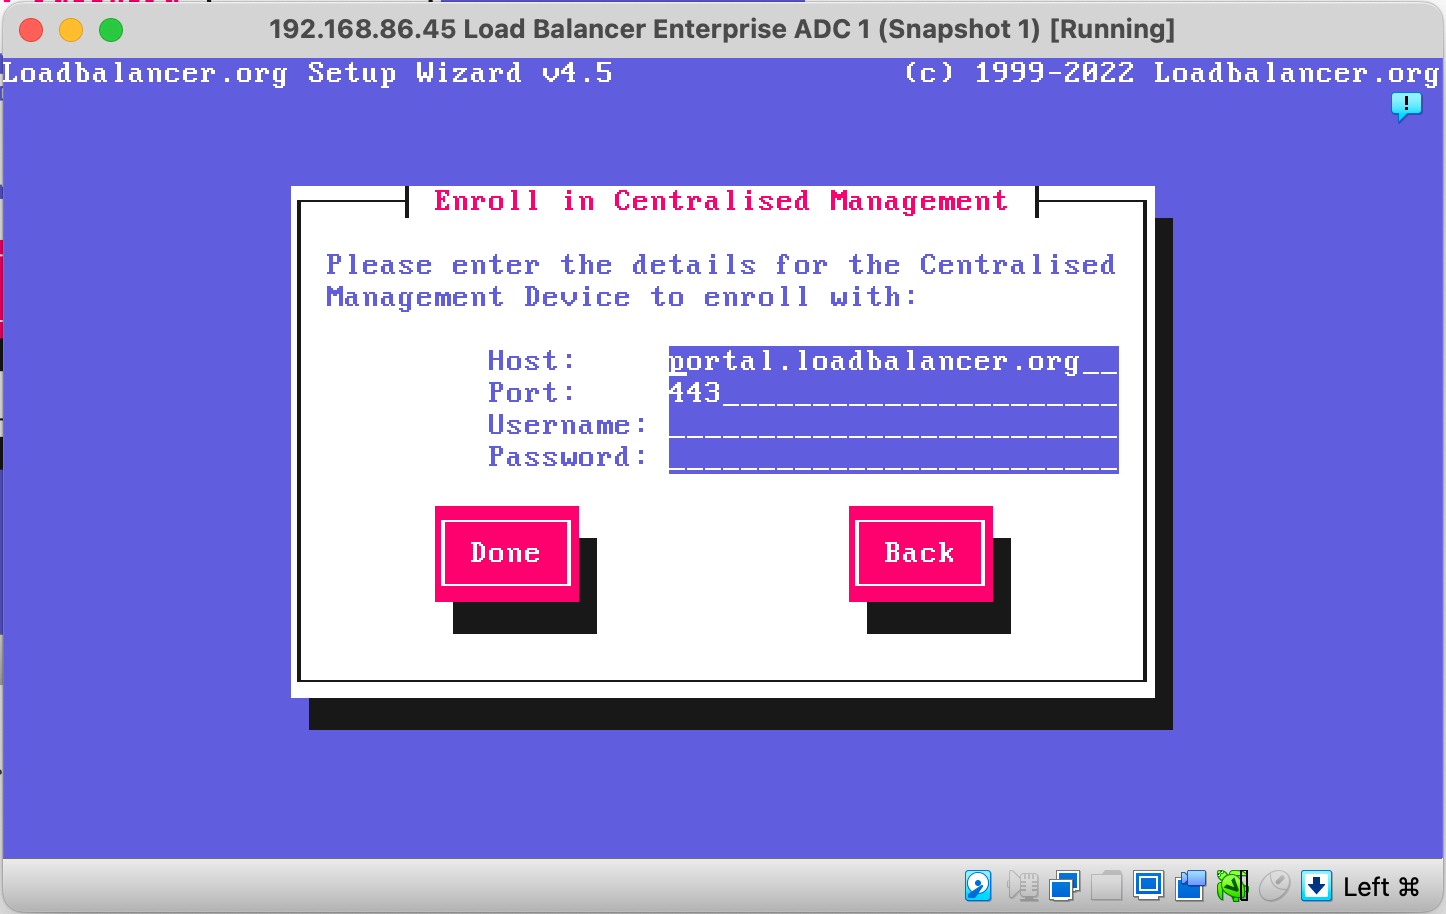
GOTCHA: Be careful with your keyboard settings, as it's probably a US Keyboard. Double check any special characters by typing them in the port field if you need to.
When you've very carefully typed your username and password for the Portal, click done and continue, and after a few seconds you should get confirmation. The console will then return to the login screen (but displaying the IP configuration you have set):
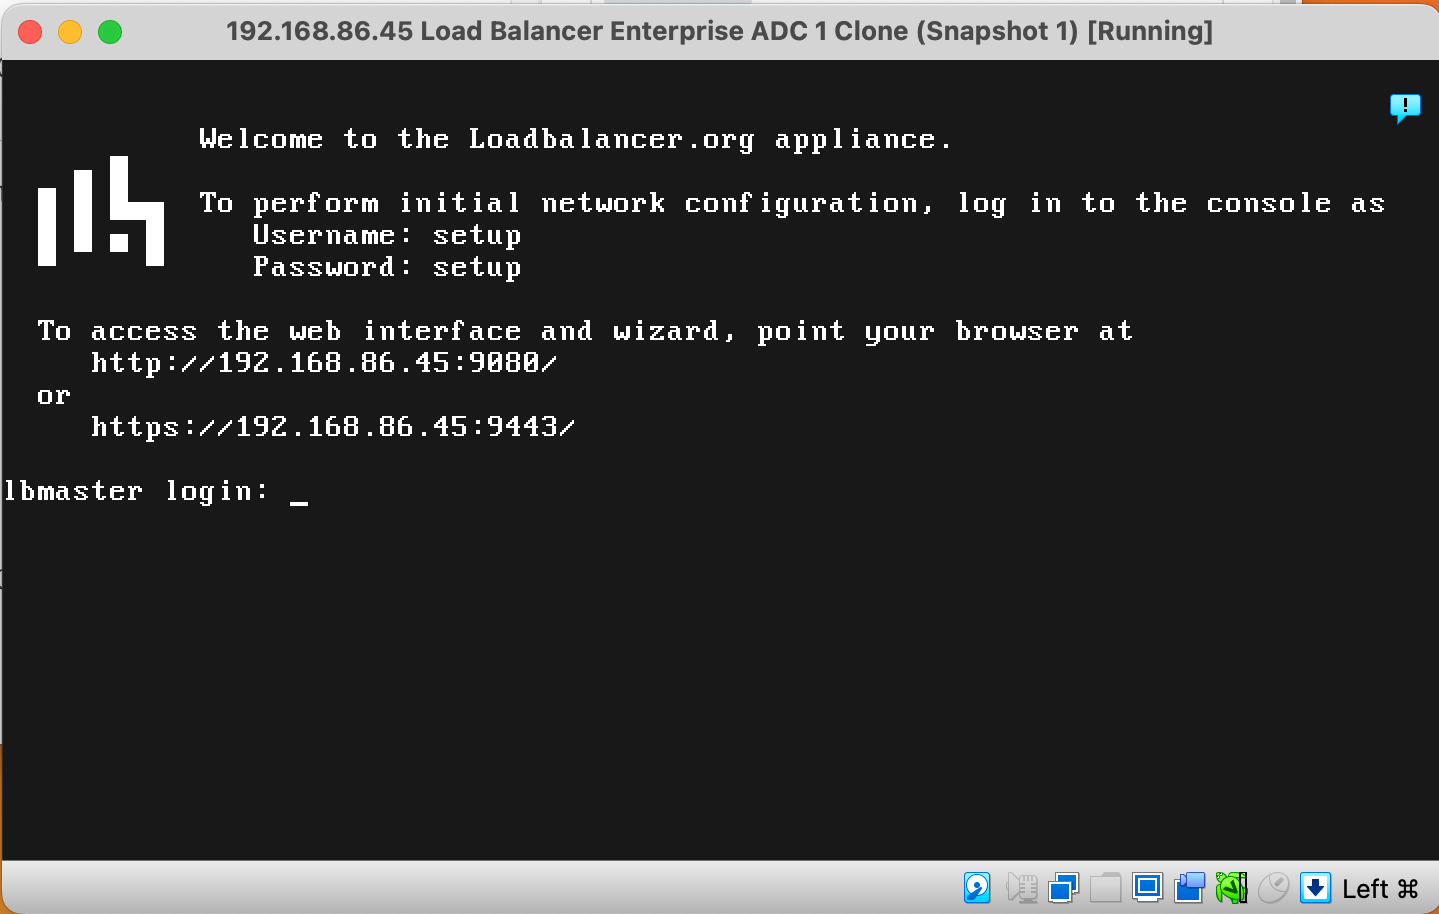
So. Your 'Shuttle' aka the Loadbalancer Enterprise ADC is now configured. So let's head back to the web based Portal and the next step.
Adopt the Shuttle you have configured

With any luck, the Shuttle should now show up in the list with an 'Adopt' button.
When you click 'Adopt' it then prompts you for your loadbalancer/shuttle password:
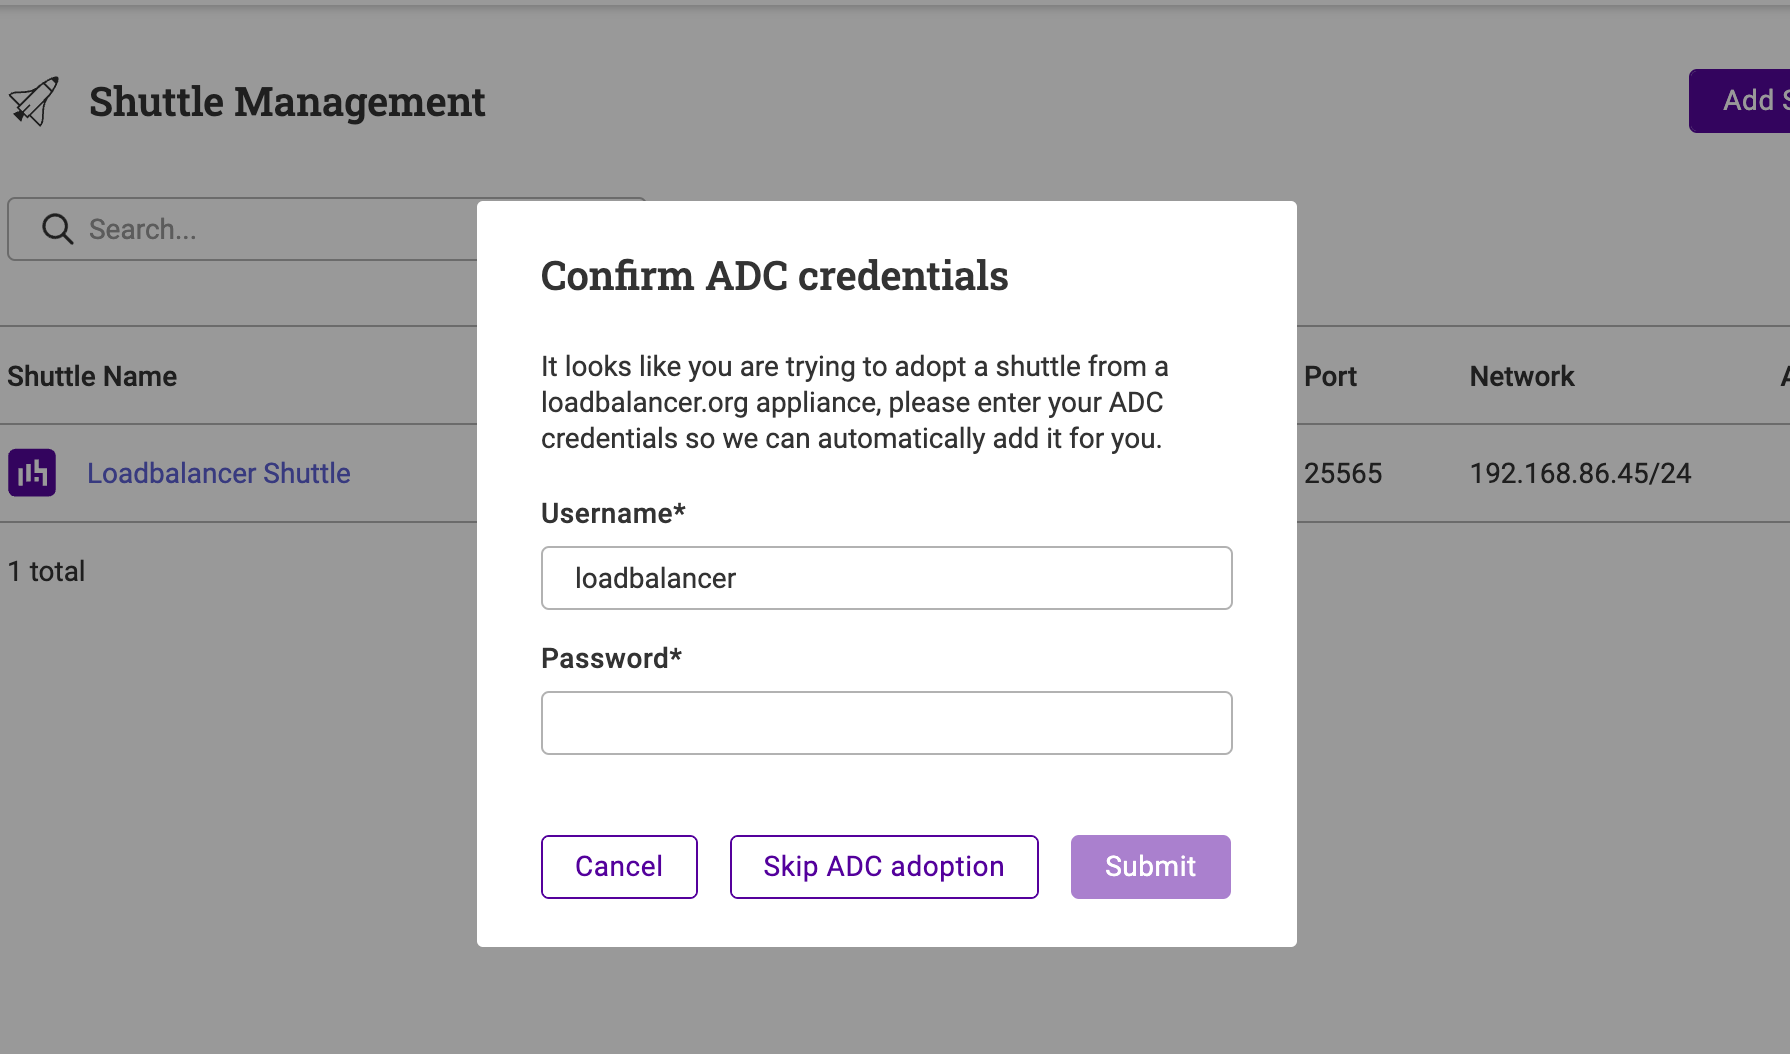
NB. You can skip this next bit if you only want a Shuttle, and don't need the Loadbalancer Enterprise ADC...
But why not just add it anyway?
If you do then when you move from the Shuttle Management menu to the ADC list, you will see that your Shuttle is now also listed as a Loadbalancer Enterprise appliance:

But that's not what we came here for, we want to add a Kemp!
And guess what, we're ready. Well almost...
Enable the API on your Kemp LoadMaster
This step probably goes without saying, but you will obviously need to enable the Kemp API first!
So log into the web interface on your Kemp LoadMaster:
Select the Certificates & Security > Remote Access menu option.
And make sure that the Enable API Interface checkbox is activated:

No confirmation is required, ticking the box instantly changes the security settings.
Add the Kemp LoadMaster to the Portal
Now that the Portal has a correctly configured Shuttle, it is able to securely communicate with your Kemp.
So let's head back to the ADC Portal, head to ADCs > List.
Then click on 'Add ADC' and then select the 'Kemp' from the list:

We only have one Shuttle subnet configured, so just click next again:
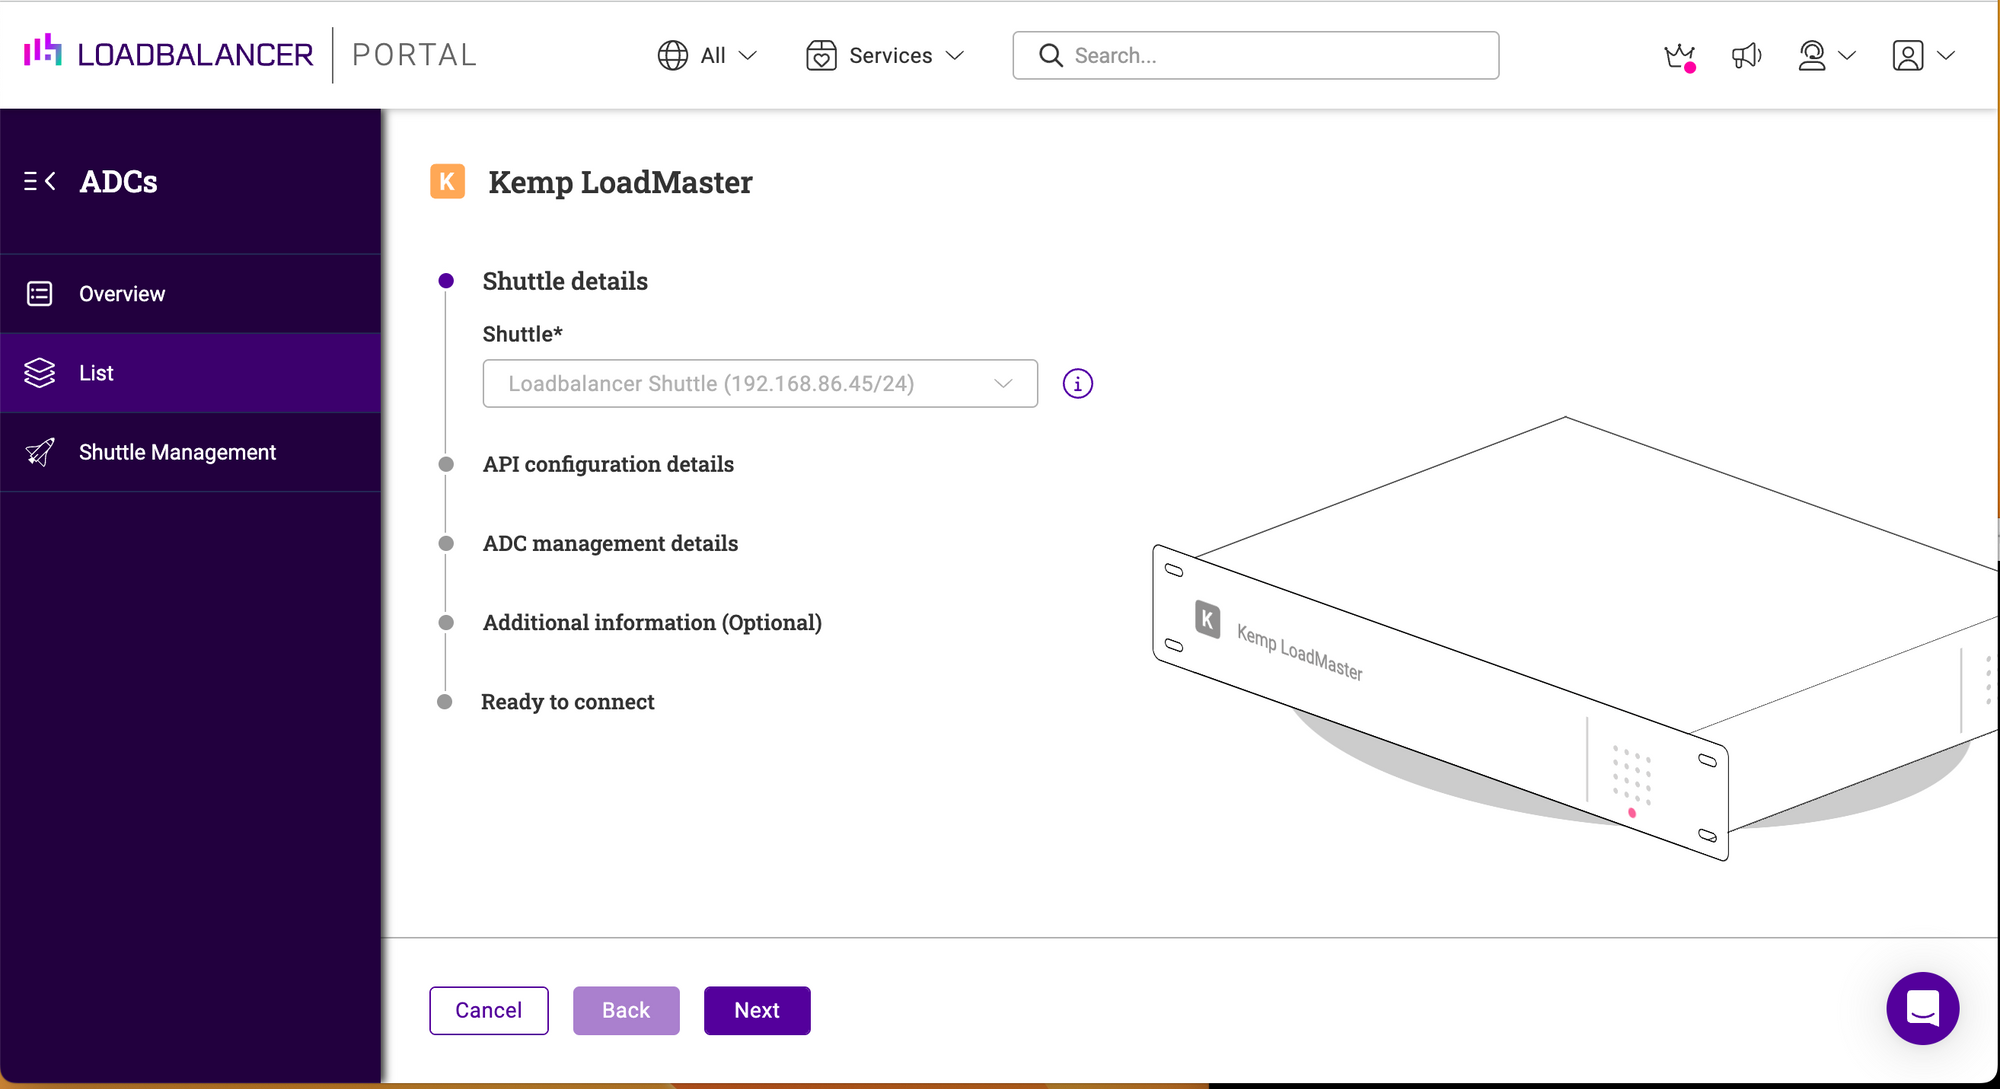
Now you are prompted for your admin account (bal), password and IP address for your Kemp LoadMaster:
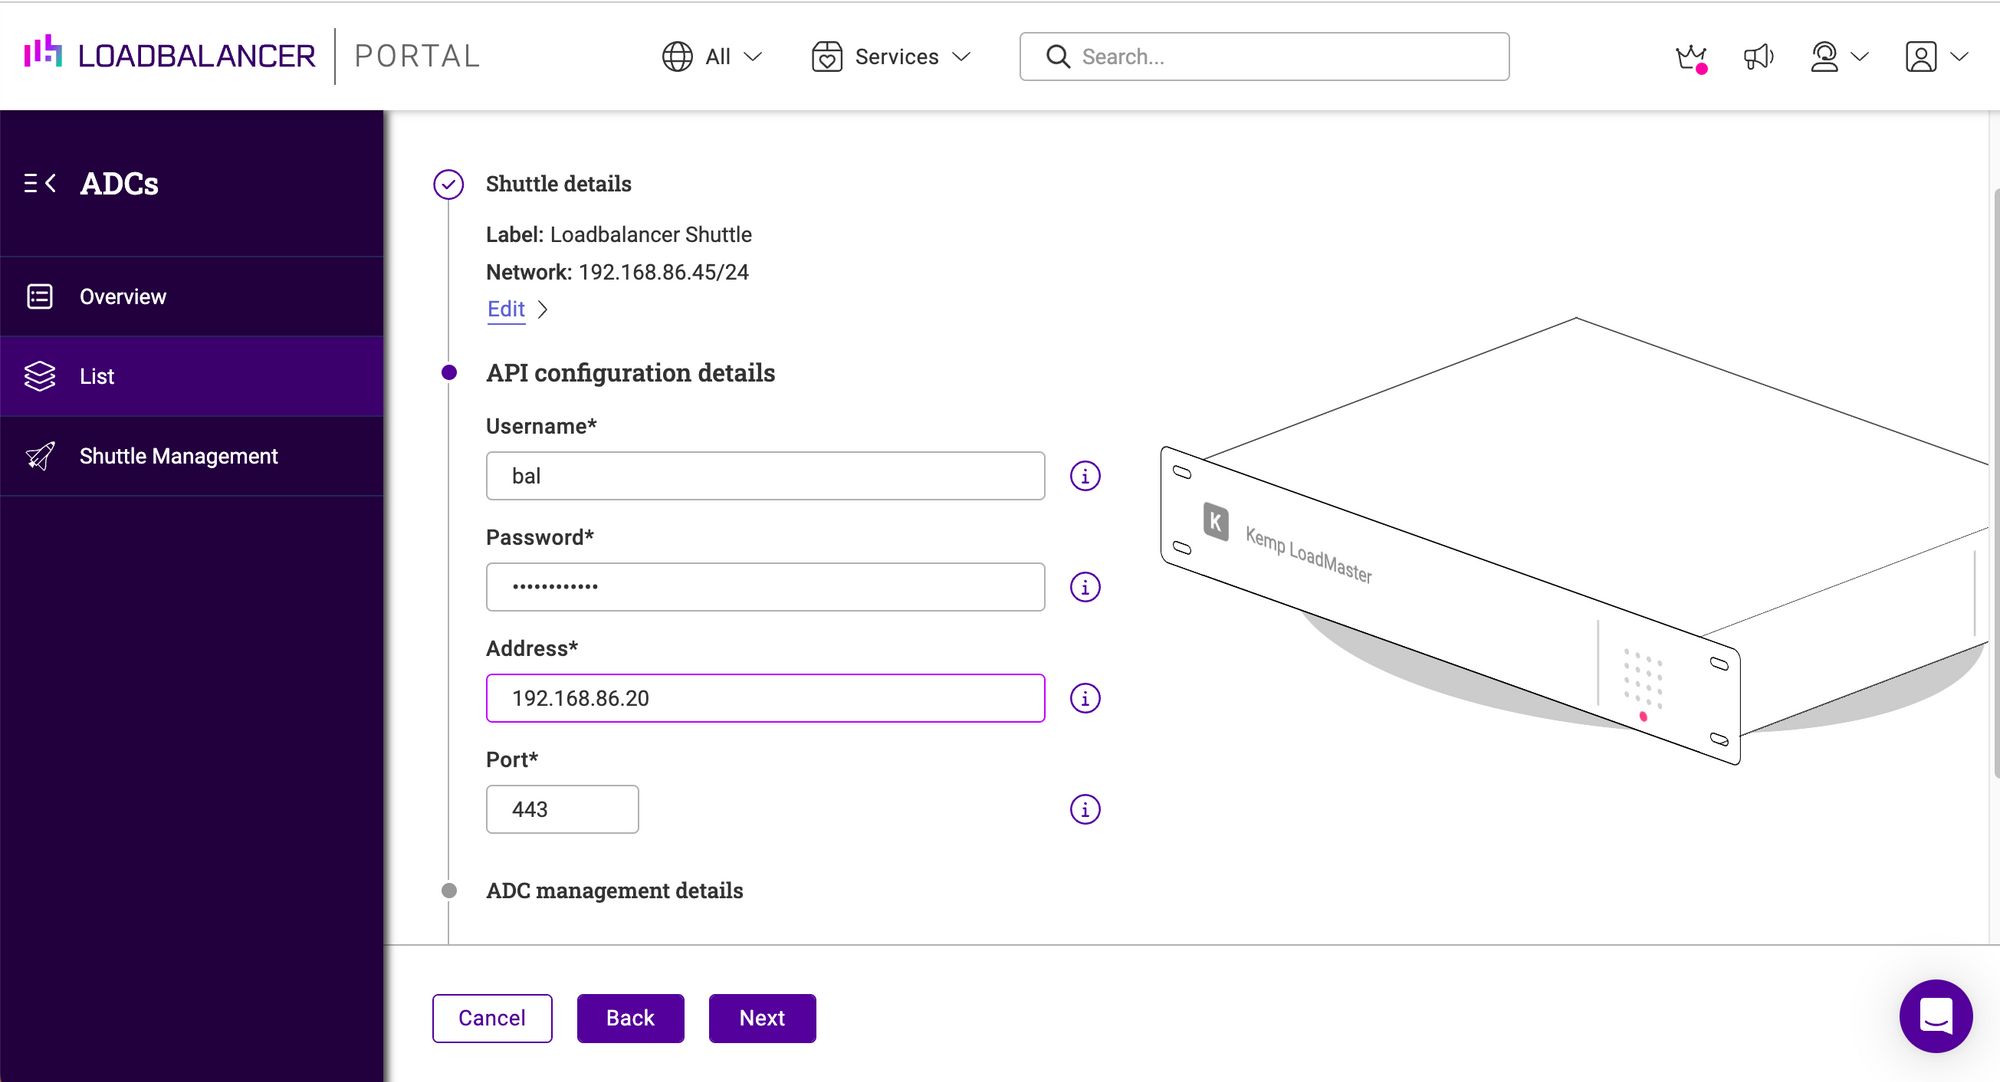
You are then just prompted for a user friendly name and some optional items, so just click submit:
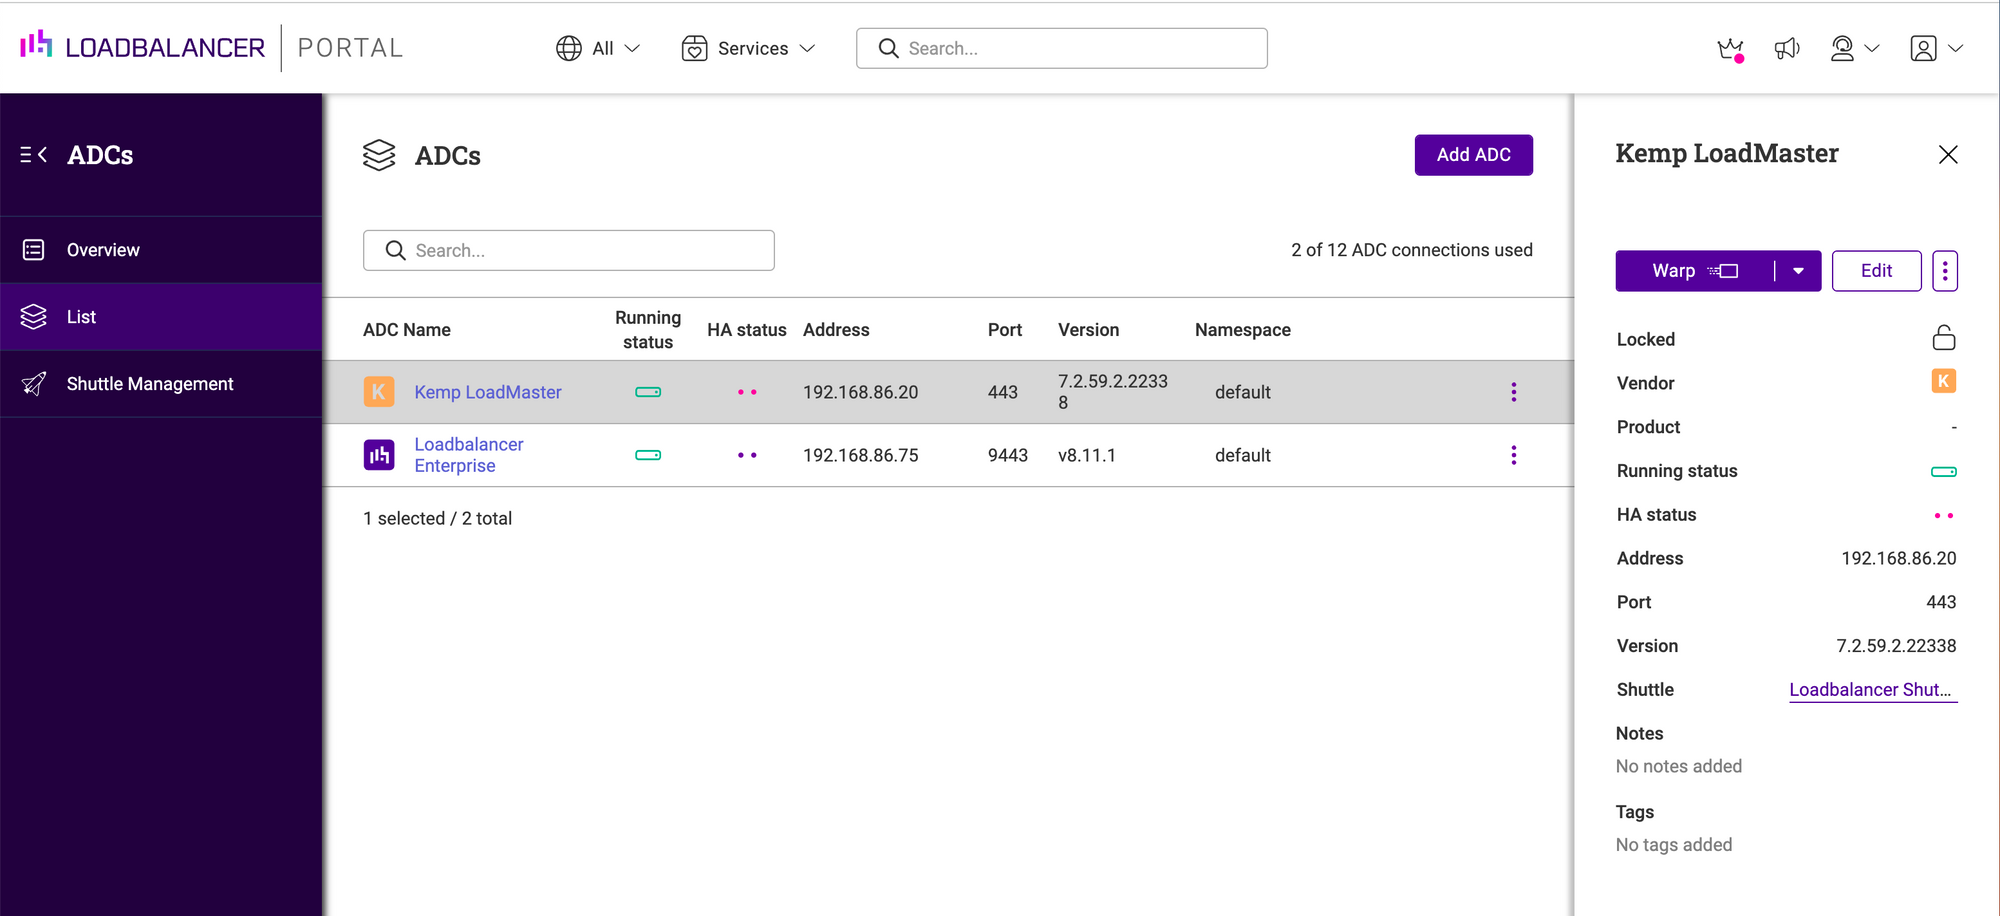
Finally! We have something that we can play with...
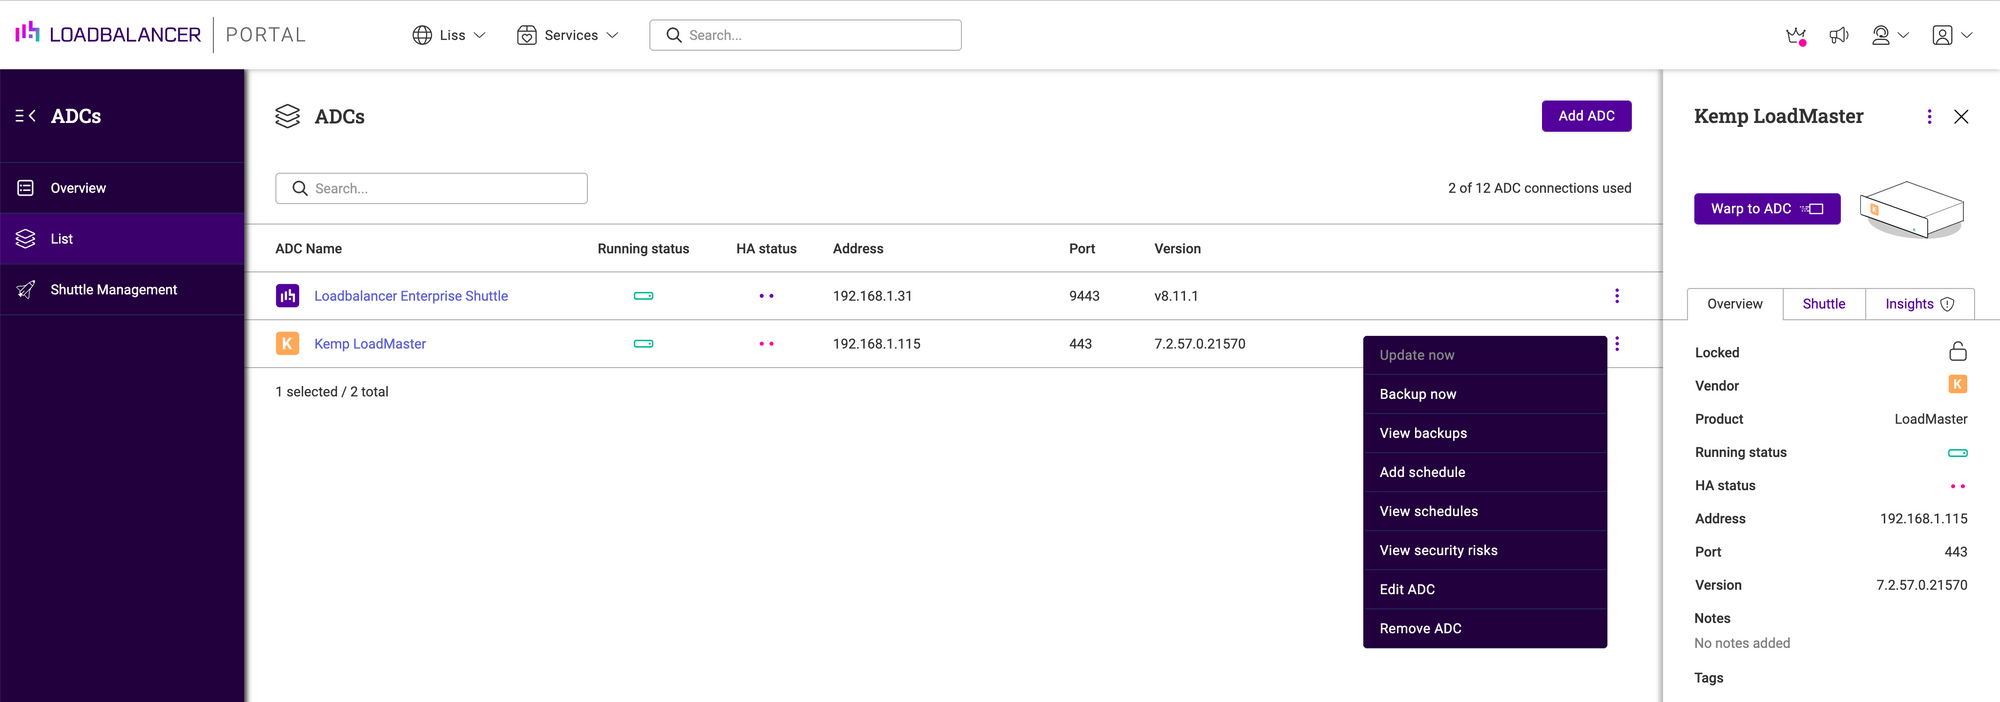
You can see the Kemp clearly listed with the version number, and the green battery symbol indicating it is passing health checks.
What can I actually do with the ADC Portal?
The goal of the Portal is to make your every day operations, security, maintenance, and monitoring tasks easier. We've started with the basics, and we will be rapidly adding sophisticated automation pipelines, fine grained access controls and alerting.
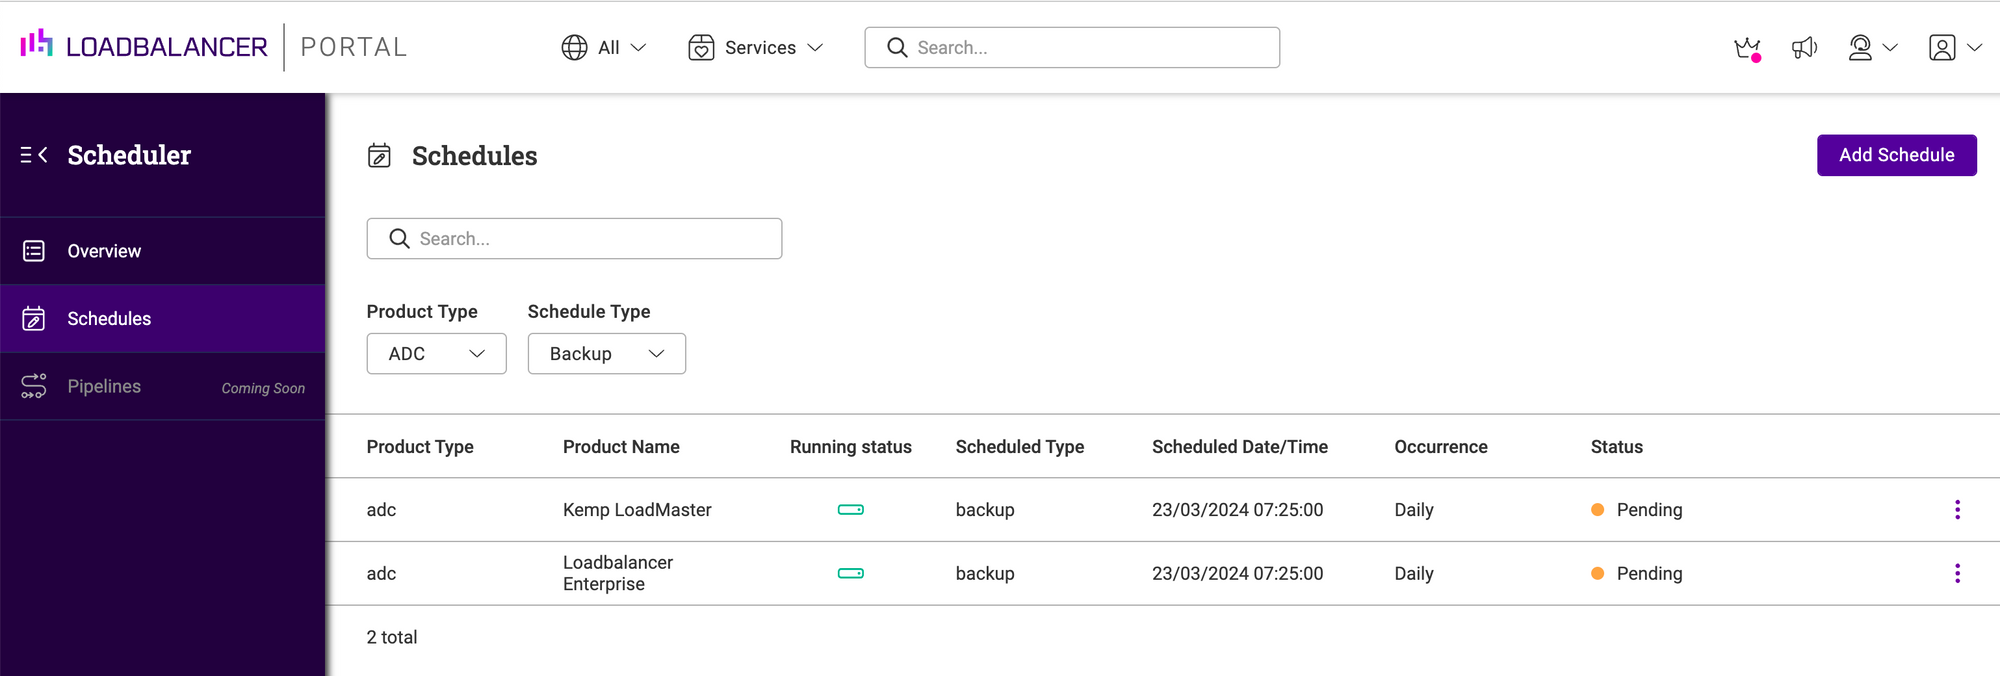
Secure cloud based backups on demand, or according to your Schedule
Well, you can create and schedule backups for a start. If you click on the 3 dots at the end of the Kemp row. This gives a drop down context sensitive menu:

These backups are stored securely in our cloud, and remember they are encrypted with your keys - so no one else can access them:
Proactive security insights and alerting
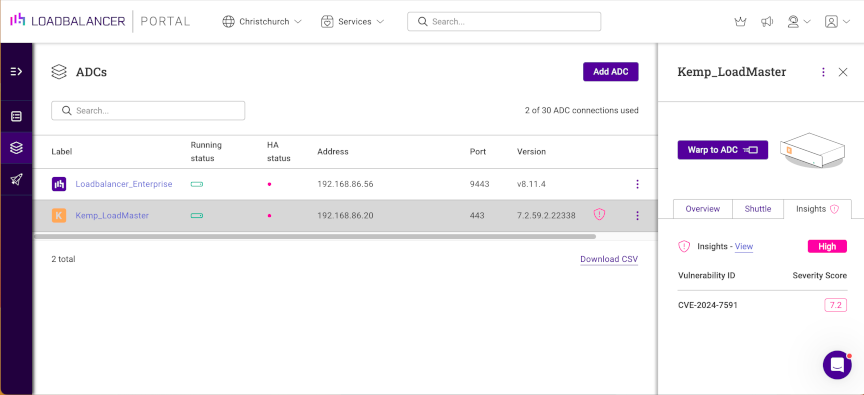
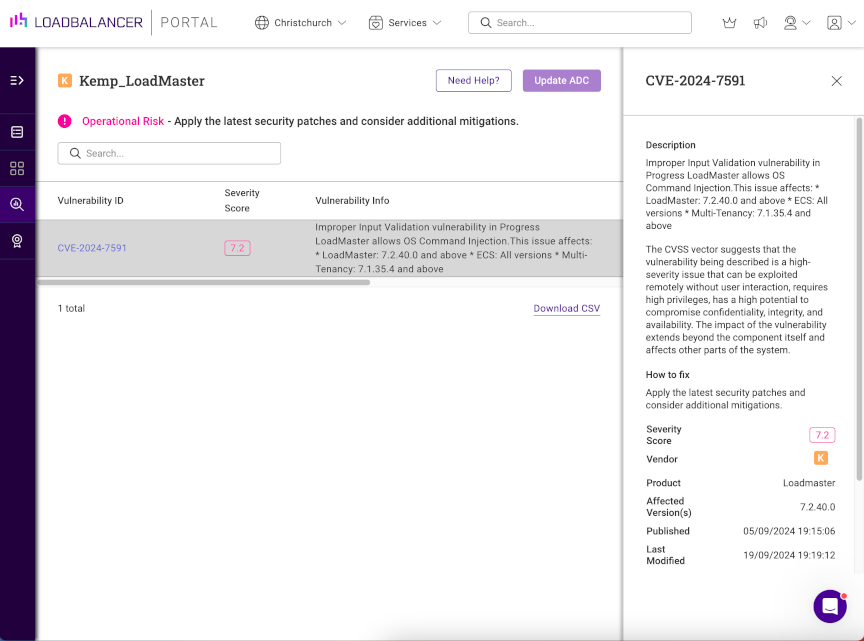
You will automatically get security warnings if your software version is affected by any security vulnerabilities. I'm sure you've already got security teams that do this for you. But personally I like to trust but verifiy the security teams work.
Have a play around with the various options and let us know what you think. We're planning to rapidly add features, so don't hesitate to start a conversation with us if you've got some ideas.
What's this big purple WARP button for?
WARP is how you get secure remote access to your load balancer through the Shuttle. You can also just go direct if you have already got network access from your client with a VPN.

But definitely, give WARP a try, we think you'll like it!
It's very fast because all the web traffic is through a secure proxy, but bear in mind that everything needs to get translated through our Shuttle API, so you may get certain functionality that doesn't work perfectly through WARP.
If you get any issues let us know and we'll endeavour to get it supported as quickly as possible!
Why not use Kemp 360?
Both the onsite Kemp 360 Central and the new cloud based Kemp LoadMaster 360 are great products. All three centralized management options have different pros and cons (which are constantly changing). The Loadbalancer ADC Portal is designed to complement your other tools, not necesarily to replace them. So I say, why not use all of them?!
*Kemp Technologies and LoadMaster are trademarks of Progress Software, Inc. Loadbalancer.org Ltd has no affiliation with Progress Software, Inc. so use of these names, trademarks and brands does not imply endorsement by either party.


